15-Minute Routine to Ease Chronic Knee Pain - Monthly Yoga With Abi
This month I’m going to base my article on a question I received about knee pain.
“About 18 months ago my knees gave way to patella-femoral joint pain with patella tendinopathy and iliotibial band insertional pain (from my physiotherapist’s notes). I purchased some of your routines before knowing this as I could feel something was not right. It was all too late and I have been off the bike for too long now trying to undo years of bad technique, bad training (i.e. none) and binge riding. I wish I’d seen your advice sooner and ignored the stereotype of yoga and men. From what I can gather it is common amongst riders who only ride when they get free time (away from work, family etc.) and don’t have the time to do what they are supposed to, train, stretch and cross train. I am under the impression that I have only trained the group of muscles that are required for cycling and neglected the other muscles, which have led to my knee being pulled out of alignment by the now dominating muscles of my leg. Can you develop a routine that stretches the muscles associated with cycling and strengthens the muscles that are not?”
Yoga for knee pain
This question perfectly illustrates how yoga can be used to relieve the pain caused by muscular imbalances resulting from your sport. As I’ve explained in previous articles, yoga works on (at least) three different levels: stretching tight muscles, strengthening weak muscles and calming the central nervous system. So how does this apply to knee pain?
The causes of knee pain:
The most common pattern of imbalances that can pull the kneecap (patella) out of alignment and damage the soft tissue in and around the knee joint is:
- Weak inner thighs (vastus medialis and adductors) from underuse and tight outer thighs (vastus lateralis) from overuse.
- Overdeveloped quads.
- Weak core and glutes.
- Tight calves, hamstrings, and hips.
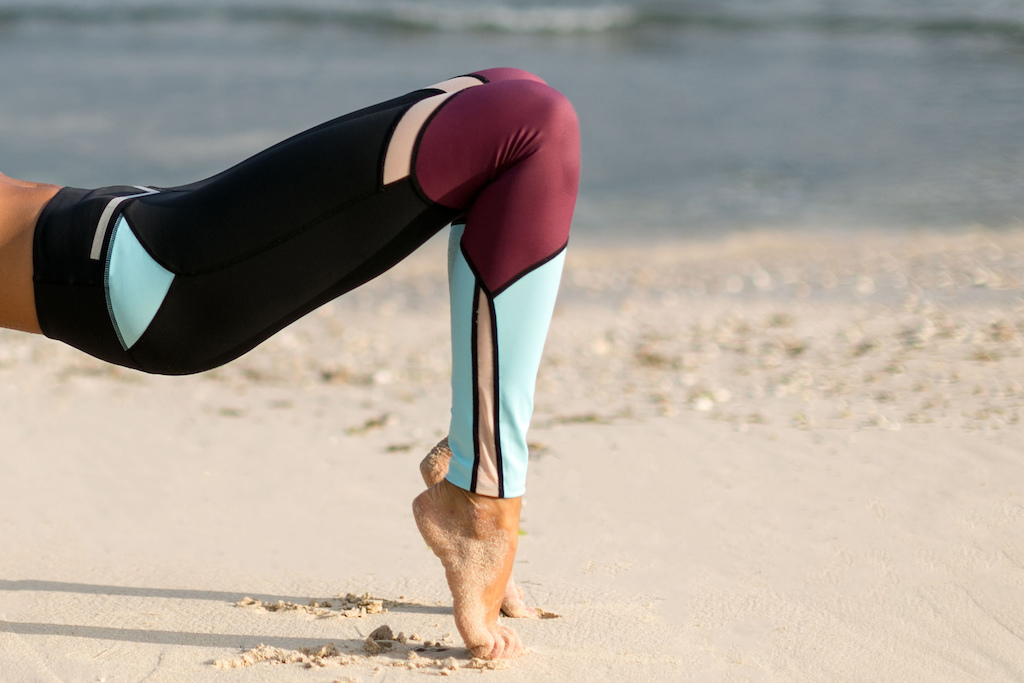
- Weak feet and ankles.
- Poor ankle flexibility.
How to correct these imbalances:
- Strengthen the inner thigh (vastus medialis and adductors).
- Stabilise the ankles, knees, hips and pelvis.
- Strengthen the feet, legs, glutes and core.
- Foam roll the outer thigh (vastus lateralis/IT Band) and calves.
- Stretch the quads and hamstrings.
- Open up the hips.
- Increase ankle mobility.
I’ve covered the flexibility components of this protocol – for the quads, hamstrings and hips – in previous articles, so in this 15-minute routine, we’re going to focus on strength and stabilisation.
Alignment
It’s crucial that you focus on your alignment in this sequence so that you’re effectively strengthening the muscles that are weak and not causing further damage. If you’re suffering from chronic pain or injury, please check with your doctor or physical therapist before attempting any of the exercises.
Here are some pointers for the three central poses. Make sure you've nailed these before practicing the full sequence.
Chair
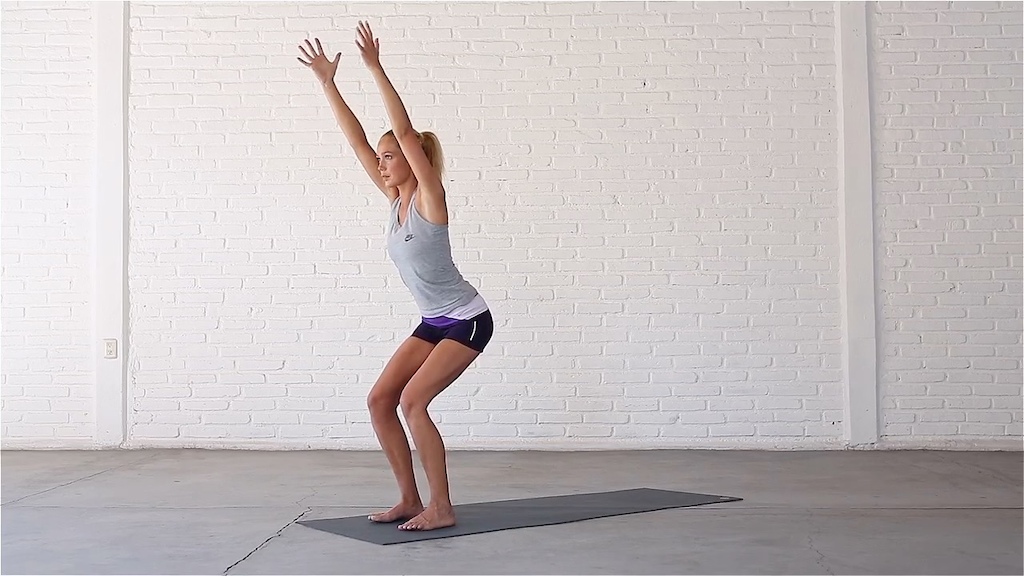
Alignment
- Stand with your feet hip-width apart, toes pointing straight ahead.
- Sweep your arms forward and up, directly overhead. Bring your hands shoulder-width apart, palms facing each other.
- Bend your knees, draw your hips back and sit back in Chair.
- Distribute your weight evenly between your toes and heels and don’t let your knees come forward over your ankles.
- Check that both knees point straight ahead and do not fall in towards each other or out to the sides.
- Without moving the position of your feet, you should feel as though your heels are turning in towards each other. This will stabilise your hips and align your kneecaps correctly.
- Reach through your fingertips and contract your abs. Draw your ribs in to prevent your lower back from arching.
- Hold the pose for 5 deep breaths, in and out through your nose. It should not be easy!
Warrior 1
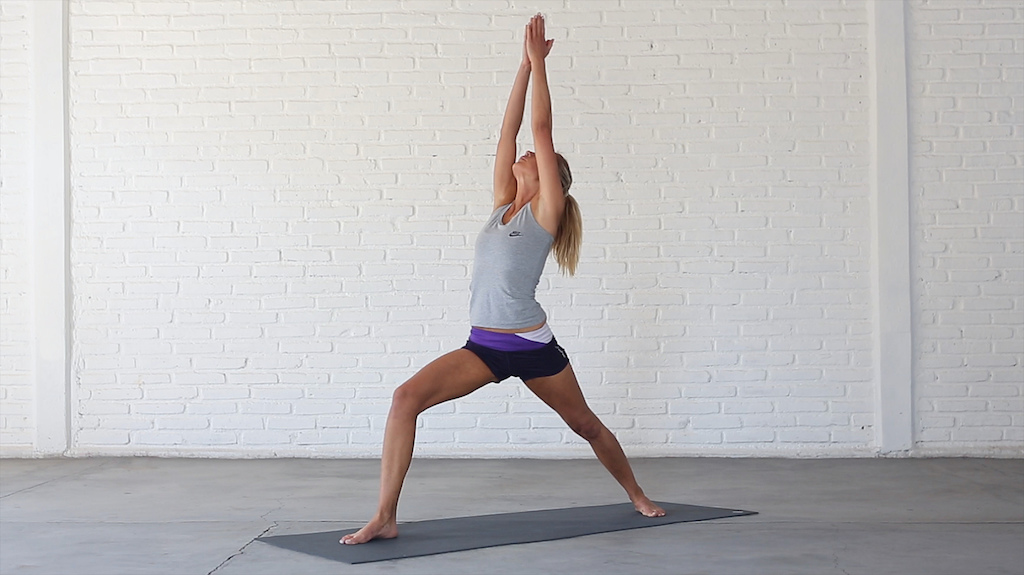
Alignment
- From Downward Dog, turn your left foot out 45 degrees and press into your palms to make room for your right foot to step in between your hands.
- Inhale, keep your hips low and sweep your arms out and up into Warrior 1. Exhale, sink into the pose. You can bring your hands together or keep them shoulder-width apart.
- Line up your front and back heels.
- Check that your front knee points straight ahead and comes directly above your right ankle.
- Turn your hips to face forward and try to bring your front thigh close to parallel with the mat.
- Engage the glutes on your back leg as you straighten your back knee. This will stabilise your left hip.
- Draw your ribs in to avoid overarching your lower back.
- Hold the pose for 5 deep breaths, in and out through your nose.
- Step back to Downward Dog for the other side.
Bridge
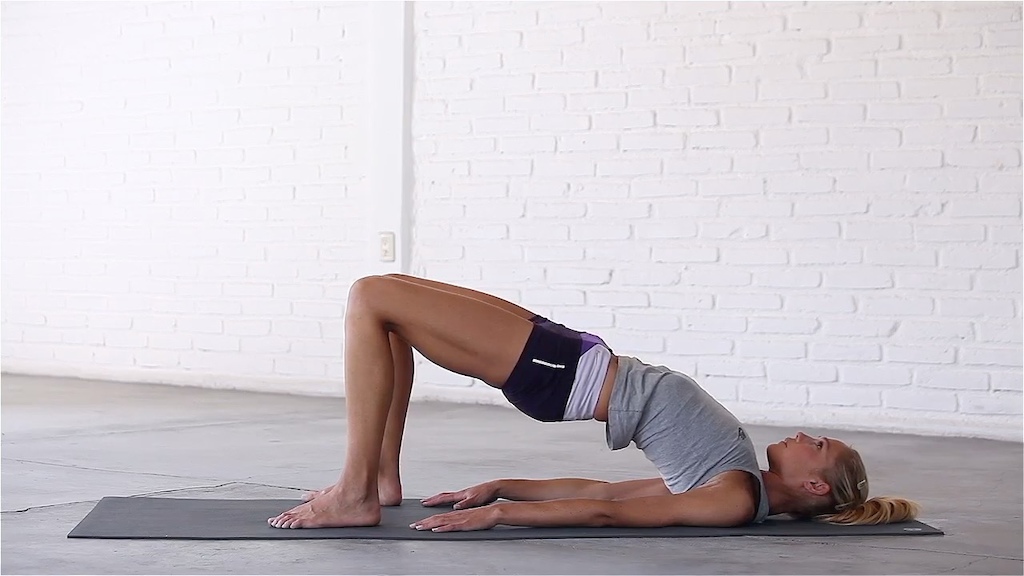
Alignment
- Lie on your back with your knees bent and your feet flat on the mat, hip-width apart. Check that your toes point straight ahead.
- Rest your arms by your sides, palms facing down. Walk your feet back until your fingertips graze your heels.
- Screw your feet into the mat and lift your hips all the way up. Check that your knees point straight ahead and do not fall out to the sides or in towards each other.
- Roll your shoulder blades underneath you and come up to your edge.
- Contract your glutes to stabilise your hips.
- Hold the pose for 5 deep breaths, in and out through your nose.
- Release the pose and hug your knees into your chest.
The 15-minute video

Other Resources
This video comes from the Yoga 15 Strength series – 15 x 15-minute videos that alternate between upper body, lower body, and core, to strengthen muscles, stabilise joints, improve posture and relieve pain. You can download the complete series here. One-legged standing poses are also very effective for stabilising the hips and core, especially Dancer, Warrior 3 and Crow. You can find instructions for these poses in my article on Balance and Agility.
This is just meant to be a starting point. It’s crucial that you see a physical therapist if you’re suffering from any chronic pain conditions because the causes and rehabilitation guidelines are going to vary wildly from person to person. Hopefully this video and a better understanding of what might be going on will kick off your road to recovery.
As always, please let me know if you have any questions: abi@yoga15.com.
Previous Yoga with Abi:
The Most Effective Style of Yoga to Increase Your Flexibility
Easy 15-Minute Yoga Routine To Loosen Up Tight Joints
How To Release Tight Quads And Increase Your Power
How To Release Chronically Tight Hamstrings
A Challenging One-Hour Yoga Flow Class
Take Control of Your Mind and Push Your Personal Limits
Yoga To Relieve Pain In Between The Shoulder Blades
15-Minute Routine To Unlock Tight Hips
15-Minute Yoga Routine To Build Core Strength
Short Yoga Routine To Help With Lower Back Pain in Bikers
15-Minute Yoga Routine To Enhance Balance and Agilityl
15-Minute Post-Ride Yoga Routine
8 Quick Yoga Stretches To Do At Work
MENTIONS: @yoga15app
Author Info:

Must Read This Week
[UPDATED] Final Elite XC Results & Overall Standings from the Mairiporã XC World Cup 2024
41824 views
41824 views
Sign Up for the Pinkbike Newsletter - All the Biggest, Most Interesting Stories in your Inbox
PB Newsletter Signup
Thanks!
www.youtube.com/watch?v=TF-1qGEe6lE
www.youtube.com/watch?v=zs7Lal8ii7M
www.youtube.com/watch?v=LJLFyIi5eqc
There are more parts, and he has some other really good videos too.
There's plenty of information about it if you look through the literature, and as far as my research went, it's the most successful protocol. Your physio should know that and point you to the correct exercises (as long as you've been diagnosed this particular condition, knee pain can come from plenty of sources, each with its own specific treatment).
Worked amazingly for me. Now I just have to stay fit, keep the quads tone. Moved to barefoot/minimal/forefoot strike running and never had a knee problem again in years.
Everything above obviously comes from my personal experience which is limited and anecdotal, it's a medical condition and you should seek proper medical advice.
www.yoga15.com/blog/a-complete-solution-for-releasing-tight-hamstrings
I have suffered greatly on both arms with this.......i would not suggest any injections. go see a physio therapist and get healthy the old fashion way by working the problem out. learn how to manage the problem yourself with exercises, ice and rest. itll work but take a while. well worth it in the end