


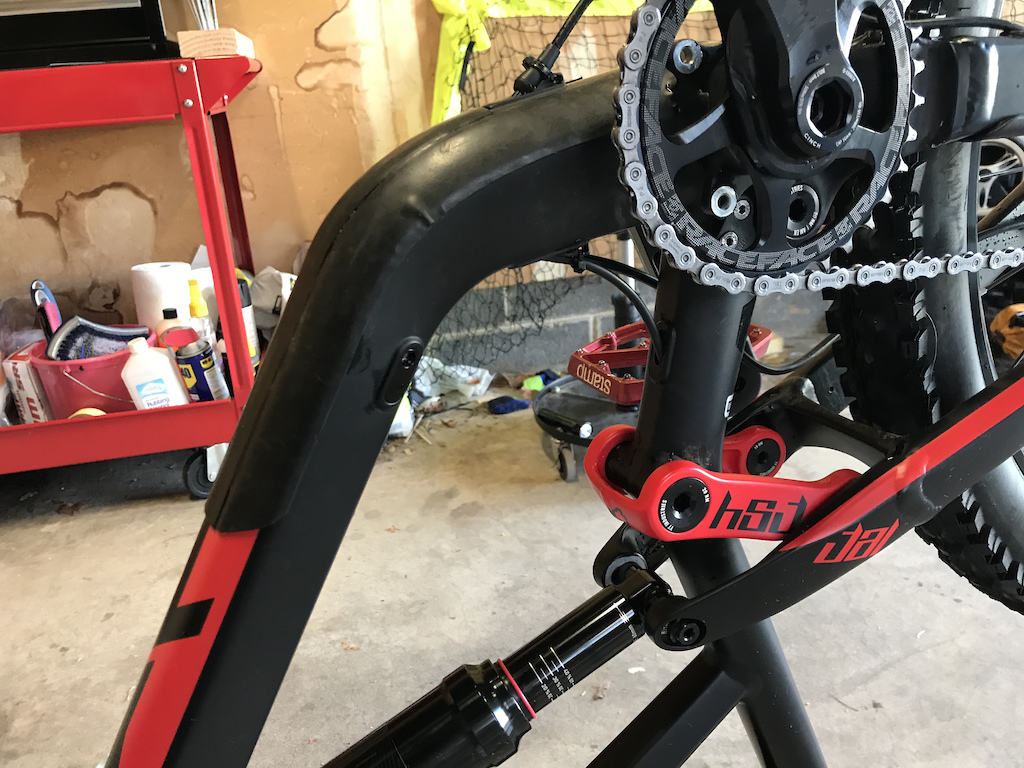
 DIY downtube protector with 3M 2229 mastic tape.

Active Forum Threads
Your subscriptions
no posts
About Us
Contacts FAQ Terms of Use Privacy Policy Sign Up! SitemapAdvertise
AdvertisingCool Features
Submit a Story Product Photos Videos Privacy RequestRSS
Pinkbike RSS Pinkbike Twitter Pinkbike Facebook Pinkbike Youtube Pinkbike Instagram