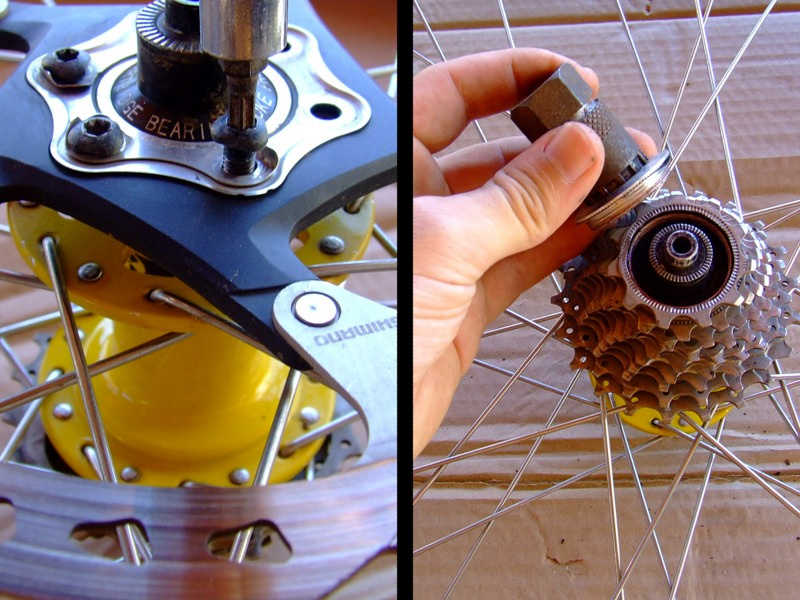
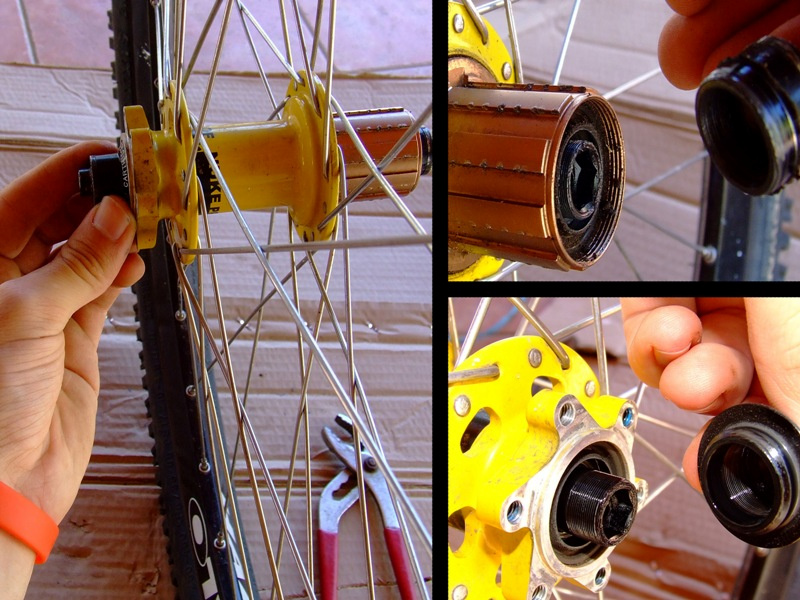
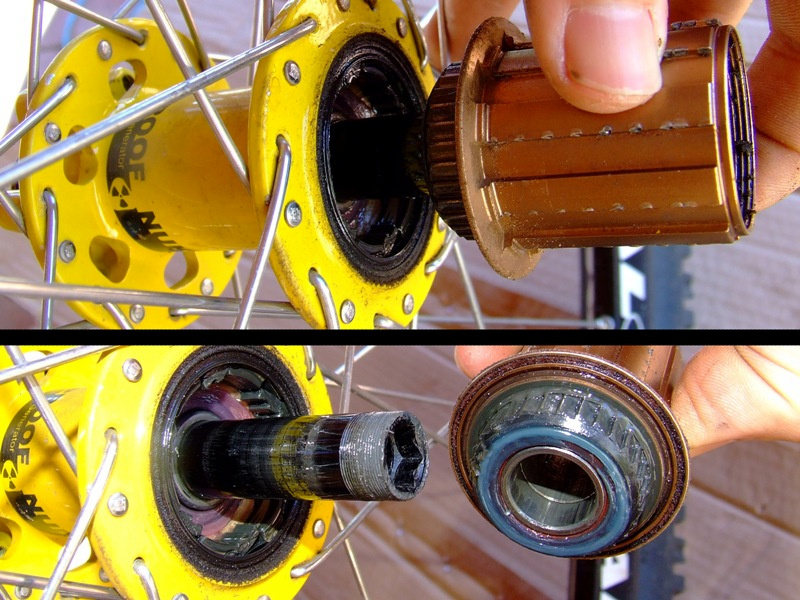
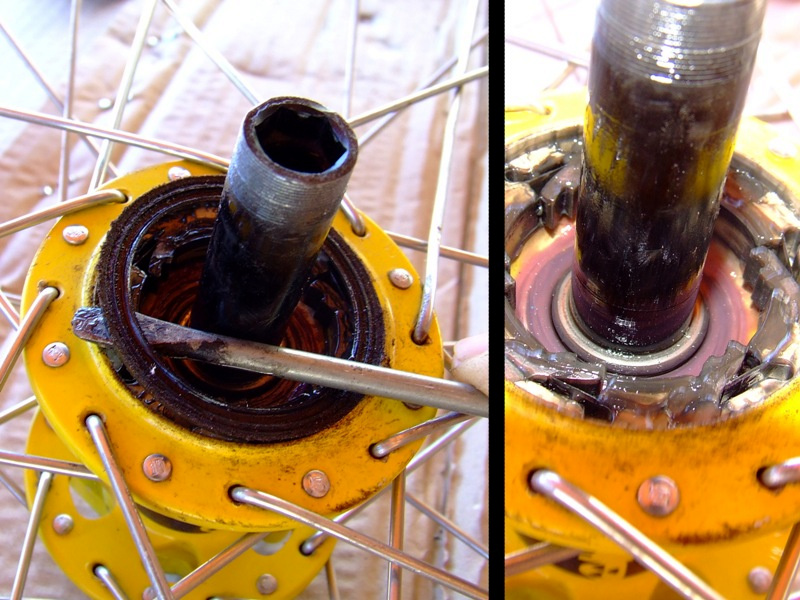
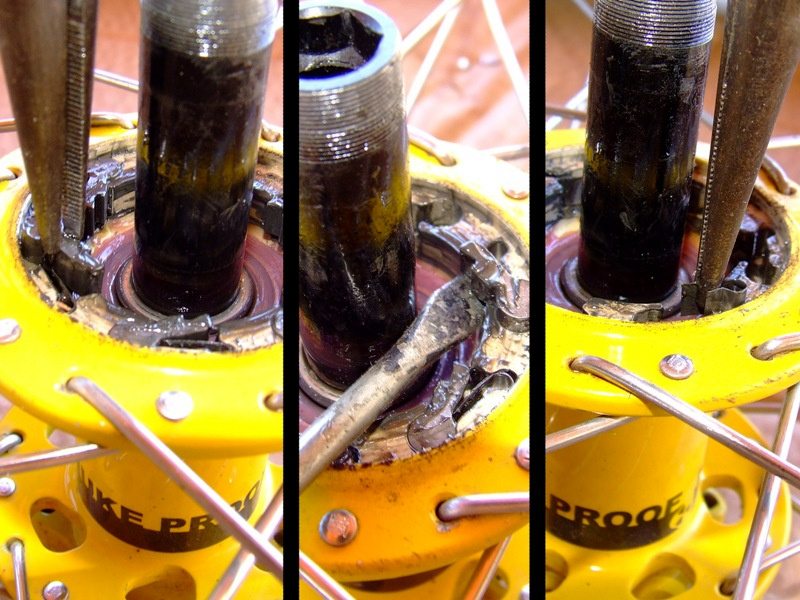
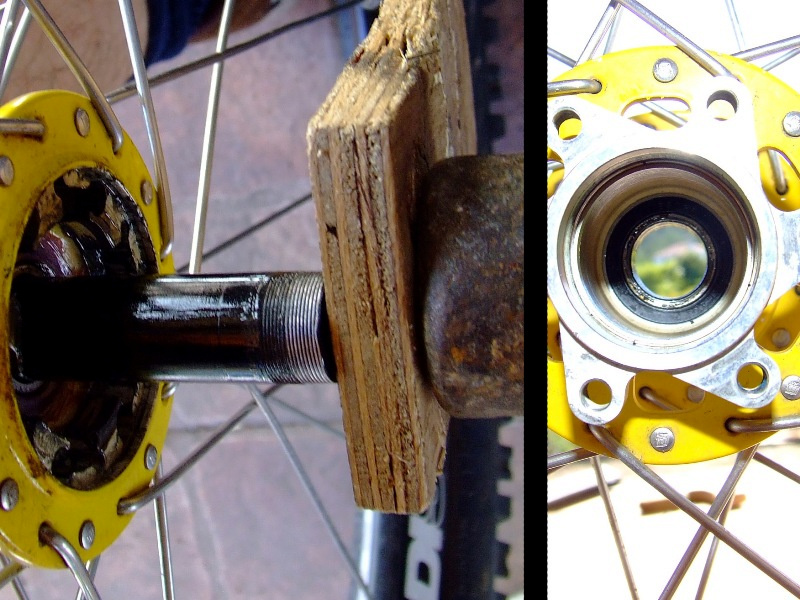
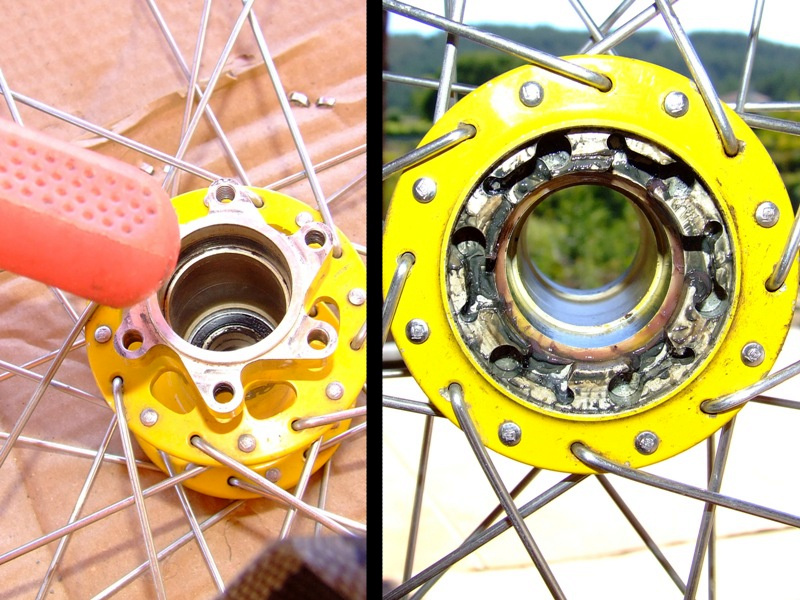
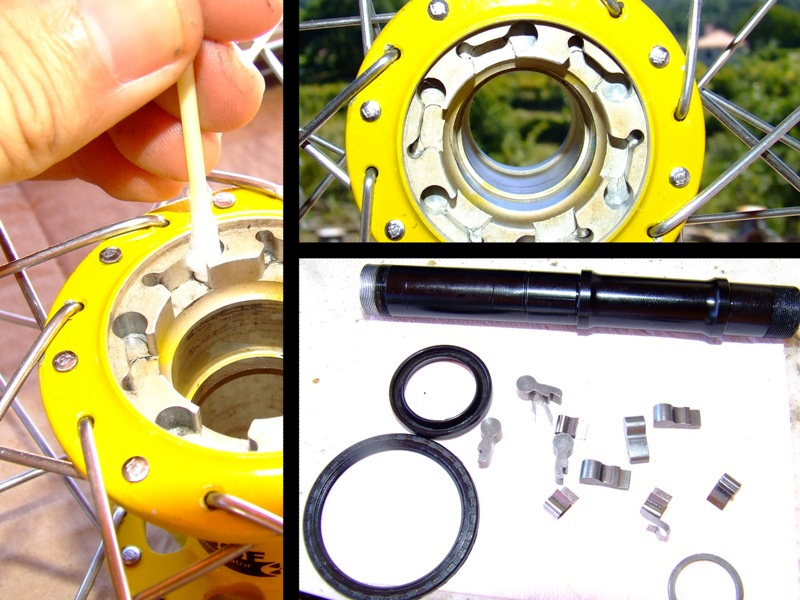
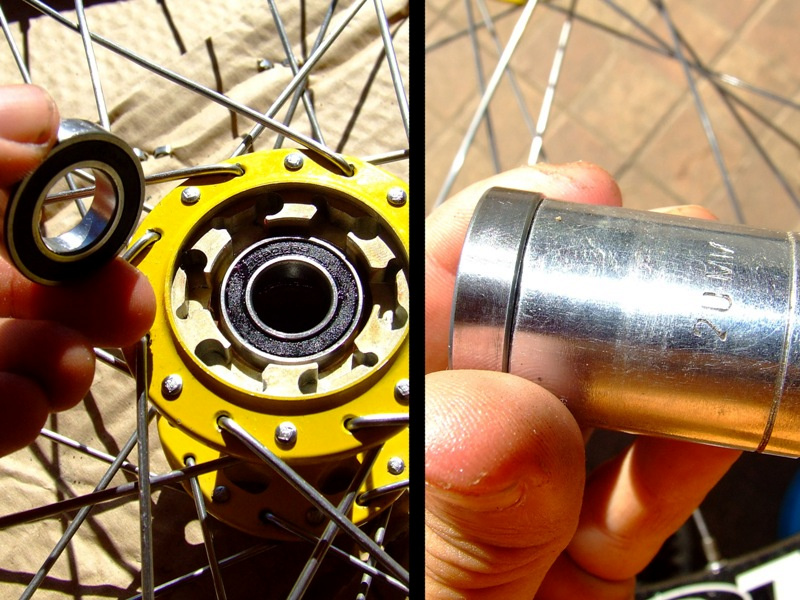
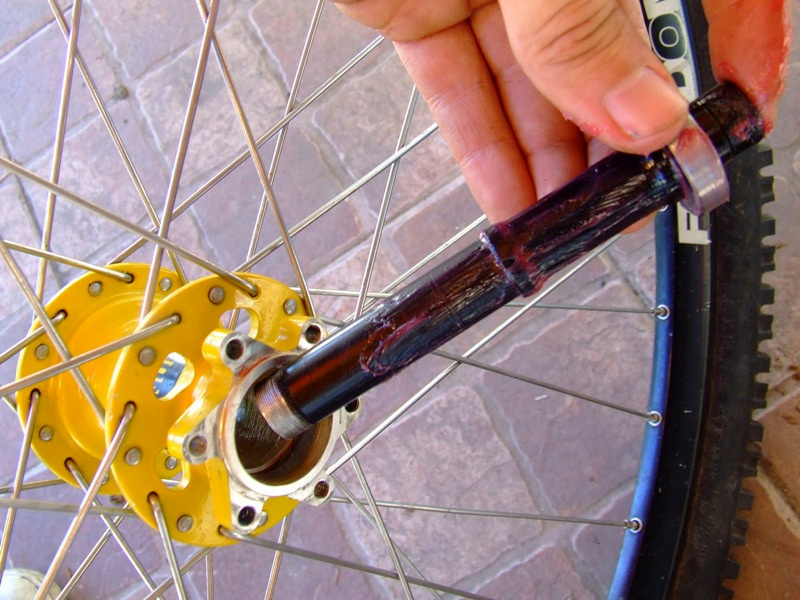
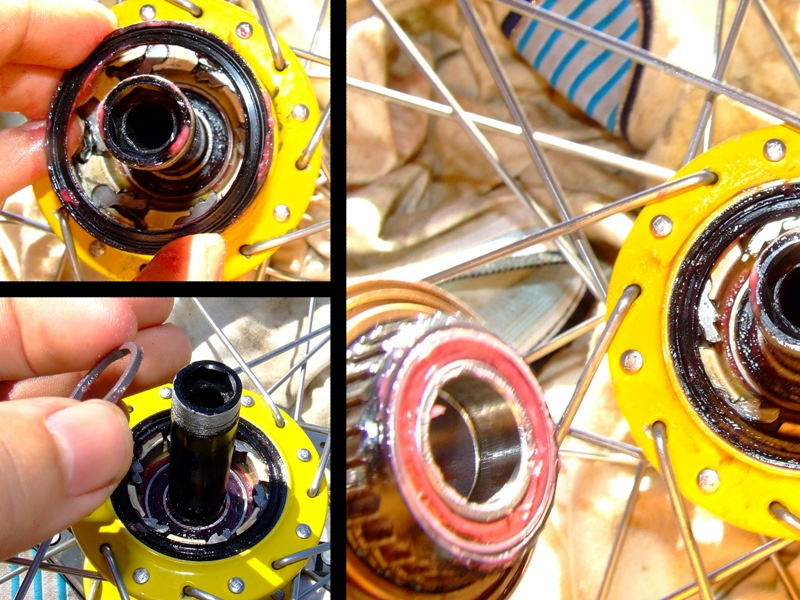
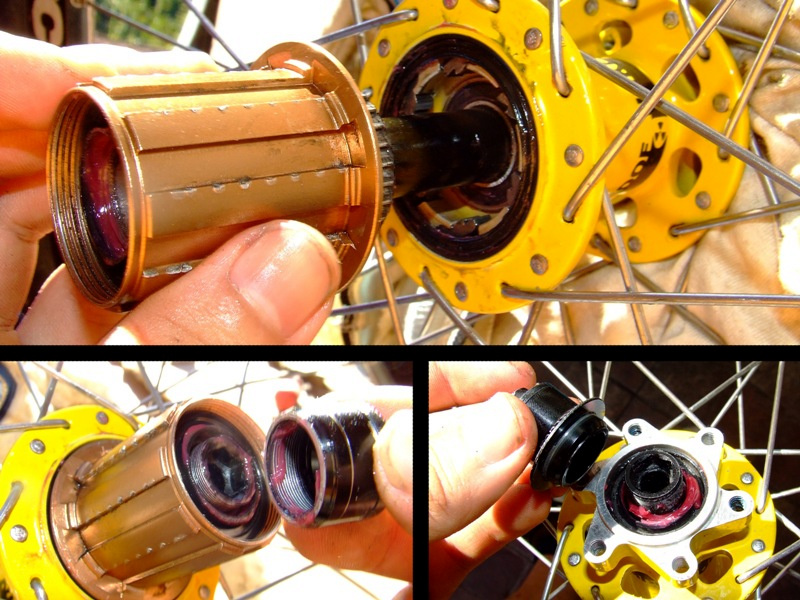
Nukeproof generator rear hub maintenance and bearing replacement
|


Active Forum Threads
Your subscriptions
no posts
|
About Us
Contacts FAQ Terms of Use Privacy Policy Sign Up! SitemapAdvertise
AdvertisingCool Features
Submit a Story Product Photos Videos Privacy RequestRSS
Pinkbike RSS Pinkbike Twitter Pinkbike Facebook Pinkbike Youtube Pinkbike Instagram