Powered by Outside

DIY Slackline Tutorial (with pics)

PB Forum :: Off-Topic
DIY Slackline Tutorial (with pics)

Author Message
Posted: Nov 26, 2008 at 7:59 Quote
This is a tutorial on how to make a slackline, should be cheaper than buying one!

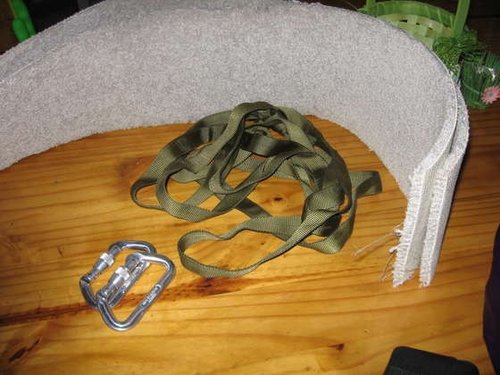
1. Gather Material:

- 1 inch tubular webbing- (at least) 70 feet
- carabiners - 5
- carpet (1ft. by 3-5ft.)

photo

Gather Materials


2. Anchors

The anchors attach the line to the tree or whatever you are slack-lining in between.

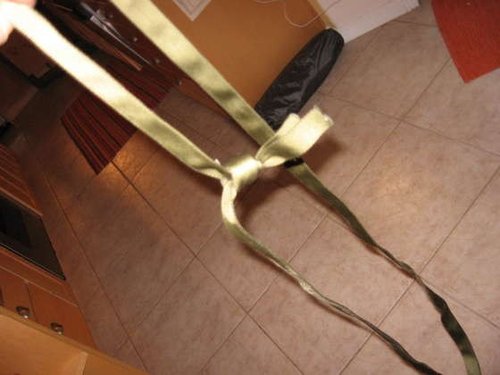
so, once you have the webbing, you need to cut of TWO ten foot sections (make sure to burn the ends, so the webbing won't fray). these will be the anchors.

Now, tie a water knot on both ends of the ten foot sections to make a big loop.

photo

Anchors


3. Knots

... well hitches actually
there are only two simple knots that you need to know
these are the Clove, and half hitch

photo

Knots


4. Set it up - Anchors

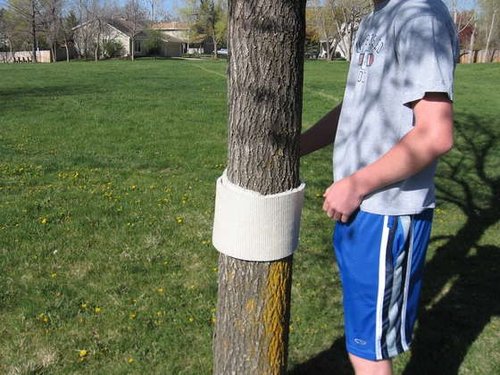
wrap the carpet around the tree, this will not only protect the tree, but make your line last longer.
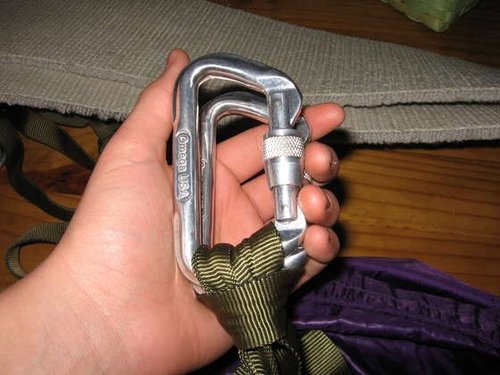
then wrap one of your ten foot sections around the carpet and put one carabiner on the ends of the loop

do the same to the other side, but with two two carabiners on this side. make sure that BOTH carabiners go into both loops with the gates facing out

photo

Anchors


5. Set it up - Slacklines

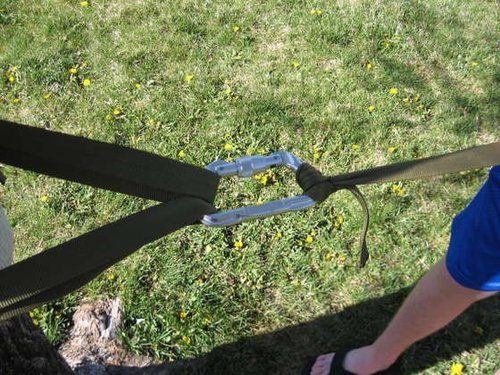
now, tie one end of your large piece of webbing to the anchor with only one carabiner, use the clove hitch.

now walk towards your other anchor holding the line to make sure that there are no twists. when you are about 4/5 of the way there tie a clove hitch, put 2 carabiners through the two loops you make in the clove hitch.

photo

Slacklines


6. Set it put - Slacklines

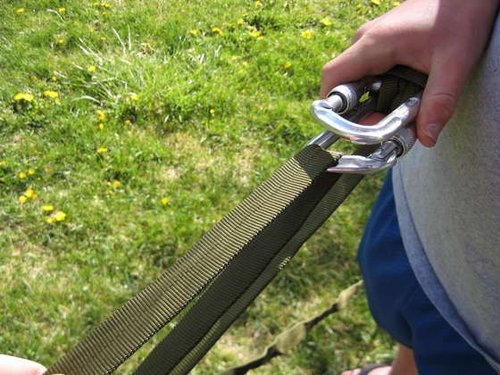
now feed the exces Webbing (the free piece of webbing) through the bottom carabiner on your anchor, going up, then feed it back through the bottom carabiner on the line, going up, then the top carabiner on the anchor, going up', and the top carabiner on the line, going up.

now PULL, this might take more than one person. you want it to be pretty pull until it won't go anymore.

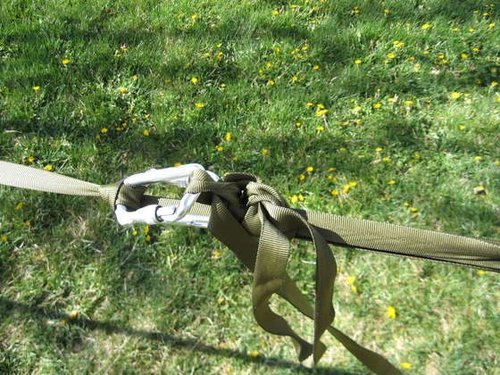
Keeping tension on the line, tie at least three half hitches around the webbing that is in between the sets of carabiners. I recommend tyeing them on a bite, this will make taking down the line much easier.

photo

Slacklines


7. Set it up - Slackline

now, while keeping all the tension on the line tie 3 or 4 half hitches in front and in back of the lines's carabiners.

photo

2734787


Now get out and enjoy, and remember to post your videos!

Posted: Nov 26, 2008 at 9:25 Quote
ehh, no idea what that is haha, is it like those things where you can fly and film / photograph at the same time? sorry if its not right and i look like a retard Razz

Posted: Nov 26, 2008 at 9:33 Quote
street-panda wrote:
ehh, no idea what that is haha, is it like those things where you can fly and film / photograph at the same time? sorry if its not right and i look like a retard Razz

its to improve your balance, go on youtube and type in slacklining!

O+
Posted: Jun 21, 2012 at 22:28 Quote
This is great! One of my friends has recently bought a Gibbon Surfline, and I am way to cheap to go out and buy one. Thanks for showing me a great way to do it! One question, where did you get the webbing?

  • Previous Page
  • Next Page


Copyright © 2000 - 2026. Pinkbike.com. All rights reserved.
dv65 0.016568
Mobile Version of Website