Stories posted under Pinkbike Community blogs are not edited, vetted, or approved by the Pinkbike editorial team. These are stories from Pinkbike users.
If a blog post is offensive or violates the Terms of Services, please report the blog to Community moderators.
Drilling/Weight Loss Tutorial
After receiving an old Hayes HFX-9 brakeset, we decided to try some weight-loss techniques to lose a few ounces off these old and heavy brakes, and we made a tutorial out of it. This tutorial covers everything you could do with your brakeset, from rotor drilling to brake fluid substitutions. Enjoy!When reading this article, make sure to pay close attention to the text and not just the images.
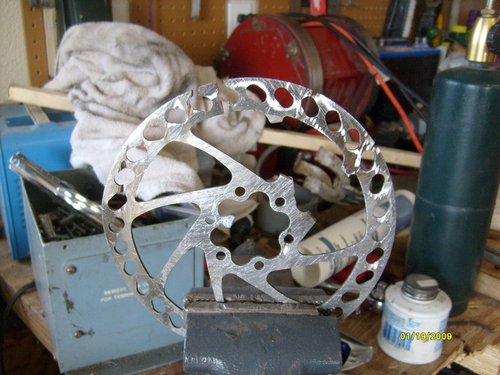
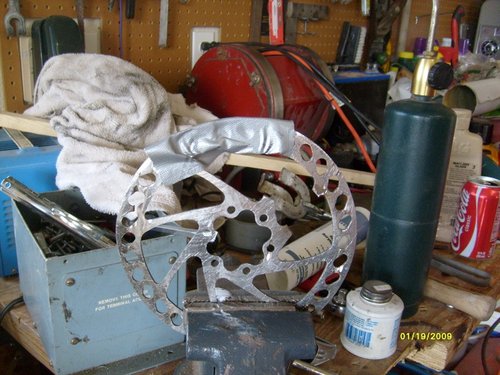
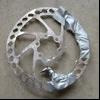
Today we will start with the brakeset. We picked up this set (rear brake and rotor) second-hand in very good condition for very cheap, because the original owner decided he wanted to try to lose some weight on the rotor and drilled it. Here are some pics:
![photo]()
![photo]()
![photo]()
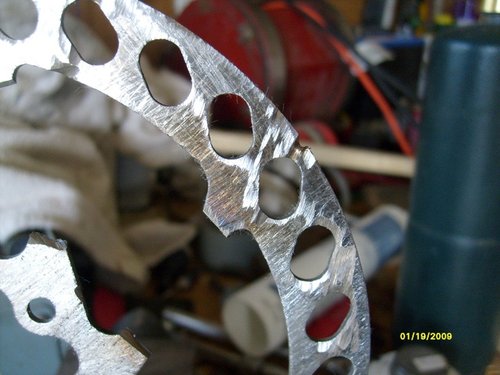
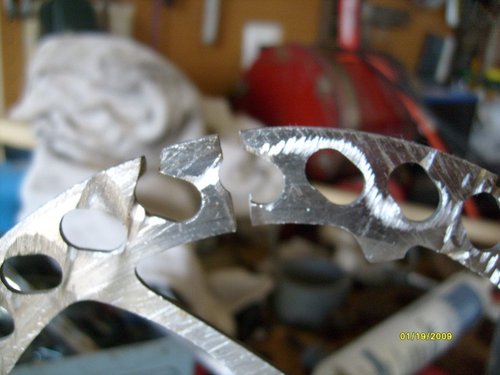
As you can see, the rotor does have a large, separating crack running through the braking surface, so we attempted to use elmers glue to correct this problem.
![photo]()
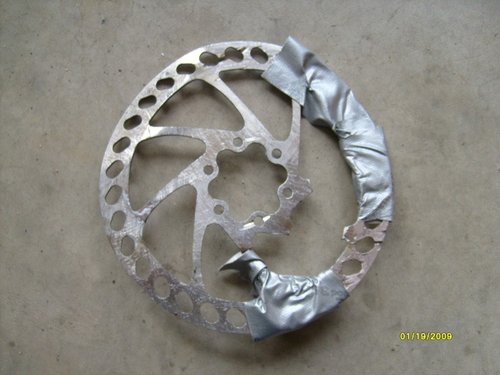
Well, that didn't go over too well, so we tried duct tape! Remember our motto, if all else fails, duct tape prevails!
![photo]()
Look at that! It looks like brand new!
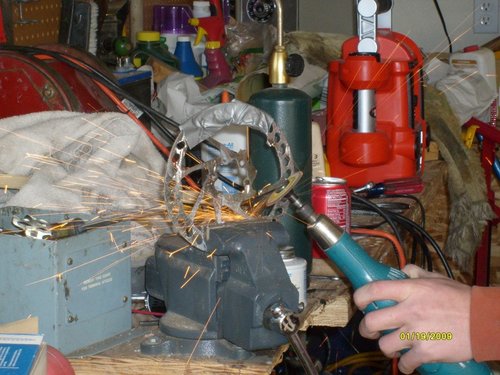
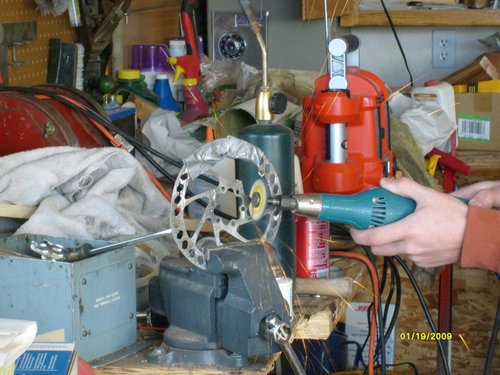
We are now going to continue our original owners weight-loss project by drilling out some spokes! Use caution and eyewear when you do this.
![photo]()
![photo]()
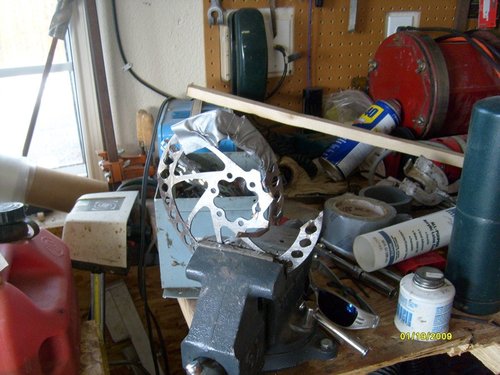
Uh-oh! Looks like we got a little carried away and made a mistake.
![photo]()
Thats OK, nothing a little bit of duct tape can't fix! Here's the final product:
![photo]()
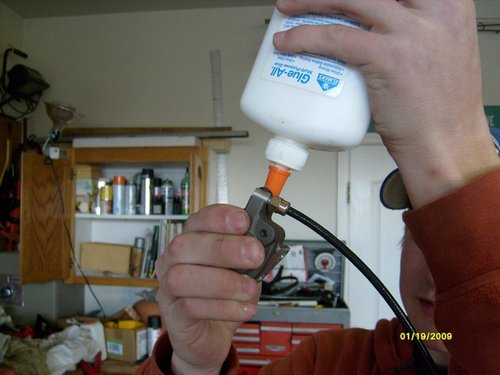
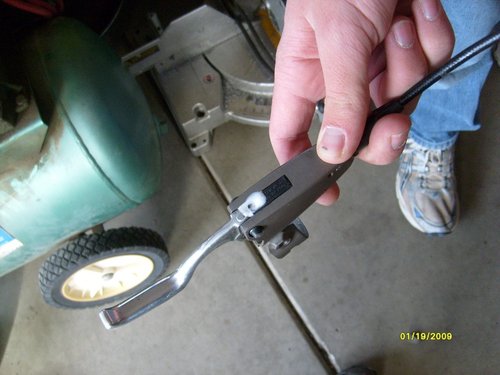
Good as new, plus we lost 13g! Onto the next step: brake fluid substitutes! Our favorite is Elmers Glue. It's much lighter and ever performs better than DOT fluid!
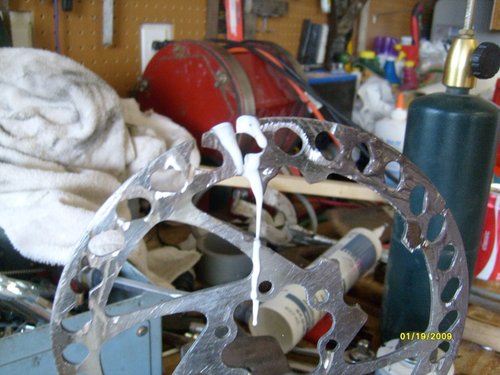
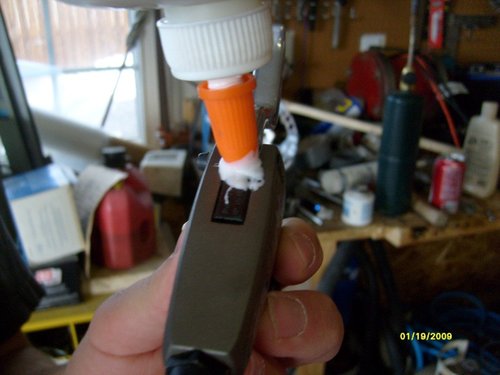
Begin by opening the bleed port and drain all the fluid and fill with elmers glue.
![photo]()
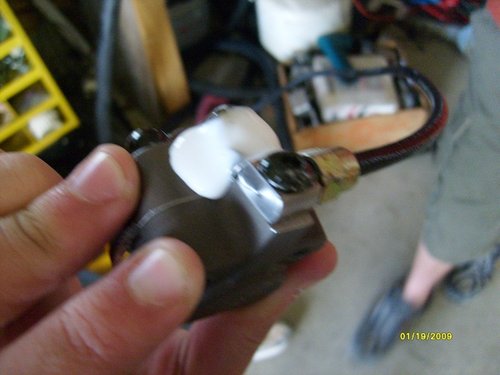
It should look like this when your done:
![photo]()
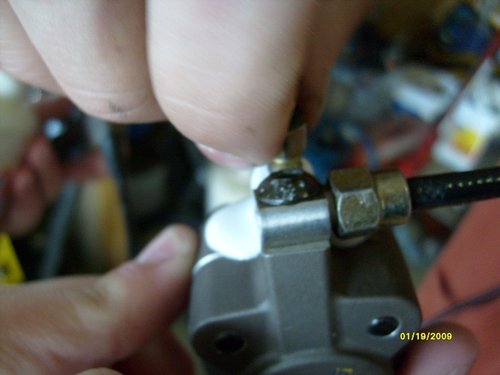
You don't have to wipe the excess, because it just comes right off when it hardens. Screw the bleed port cap back on and remove the lever port and do the same.
![photo]()
![photo]()
![photo]()
Heres what it looks like on the rotor:
![photo]()
And here's our final product:
![photo]()
I hope this lesson helped! Post any questions, comments or suggestions!
Today we will start with the brakeset. We picked up this set (rear brake and rotor) second-hand in very good condition for very cheap, because the original owner decided he wanted to try to lose some weight on the rotor and drilled it. Here are some pics:
2907248
2907246
2907247
As you can see, the rotor does have a large, separating crack running through the braking surface, so we attempted to use elmers glue to correct this problem.
2907259
Well, that didn't go over too well, so we tried duct tape! Remember our motto, if all else fails, duct tape prevails!
2907243
Look at that! It looks like brand new!
We are now going to continue our original owners weight-loss project by drilling out some spokes! Use caution and eyewear when you do this.
2907252
2907253
Uh-oh! Looks like we got a little carried away and made a mistake.
2907249
Thats OK, nothing a little bit of duct tape can't fix! Here's the final product:
2907245
Good as new, plus we lost 13g! Onto the next step: brake fluid substitutes! Our favorite is Elmers Glue. It's much lighter and ever performs better than DOT fluid!
Begin by opening the bleed port and drain all the fluid and fill with elmers glue.
2907257
It should look like this when your done:
2907269
You don't have to wipe the excess, because it just comes right off when it hardens. Screw the bleed port cap back on and remove the lever port and do the same.
2907244
2907254
2907250
Heres what it looks like on the rotor:
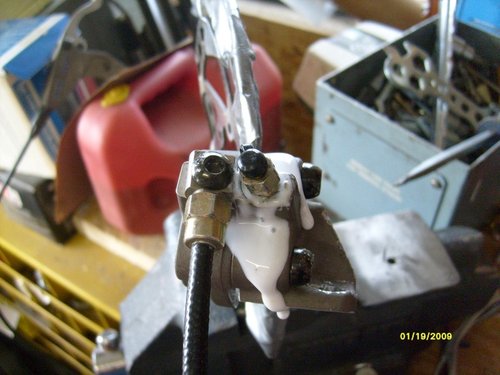
2907262
And here's our final product:
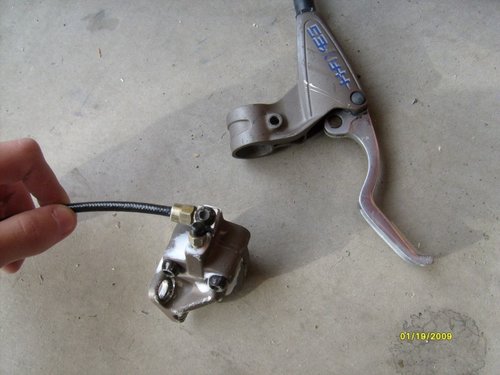
2907268
I hope this lesson helped! Post any questions, comments or suggestions!
Author Info:
Must Read This Week
just did it to my nines and there brilliant
also this elmer's glue you speak of (i just used it rather than air in my tyres..3 litres and froze it solid)
much lighter