 literatechimp
← Back to profile
literatechimp
← Back to profile
Albums:
- Favorites
- 0 All Photos
- 1 Mobile Uploads
- 268079 how2designerbike
- 237970 2009-Rebuild
- 225042 how2makermitre
- 214145 trails
- 206964 frame-building
- 202936 doodles
- 202749 cars
- 183358 my-bikes
All Photos (34 Photos)
Click to select an image. Click and drag to select multiple images. Shift+click to add/remove from your selection.
 Upload Photos
-
 Sheffield
 literatechimp: 2009-Rebuild
in: Parts - Suspension883 views | 5 comments | 2 faves
none
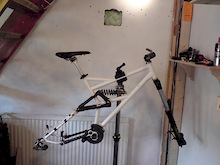
noneThe Dead Donkey - getting there, slowly...
-
 Sheffield
 literatechimp: 2009-Rebuild
in: Parts - Suspension597 views | 1 comments | 1 faves
my front room
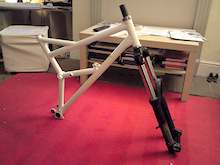
nonethe '2009' Front triangle. Yes, yes, i know...
-
-
 Sheffield
 literatechimp: my-bikes
in: Broken Bikes/Parts1399 views | 3 comments
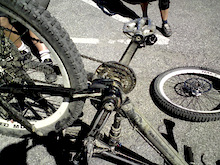
bourg st maurice - car park funicular
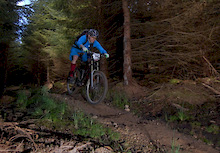
nonebroken frame (snapped chainstay pivot), fixed with an innertube and electrical tape
-
 Sheffield
 literatechimp: my-bikes
in: Broken Bikes/Parts1412 views | 1 comments | 1 faves
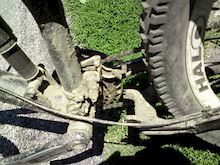
halfway down red 7 from Les Arcs
nonebroken chainstay
-
 Sheffield
 literatechimp: 2009-Rebuild
in: Parts - Suspension463 views | 3 comments
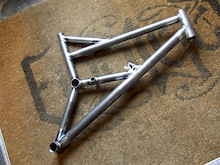
doormat
nonenew front end for the 2009 rebuild, which is slowly becoming the 2010 rebuild...
-
 Sheffield
 literatechimp: how2designerbike
in: Bike Drawings/Art346 views
none
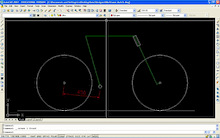
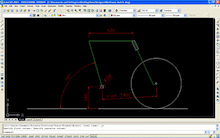
nonestep 3: - i've added the rear wheel. a chainstay of 450mm is long enough to have me executed by the fashion police, but i find a longer c'stay helps me recover some front end grip that i've lost to the long front-centre. (420 feels very short, 470 feels very long, surpising how much difference it makes).
-
 Sheffield
 literatechimp: how2designerbike
in: Bike Drawings/Art337 views
none
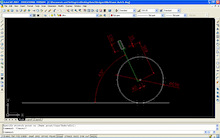
nonedesigning a Dh bike - step 2; here i've located the BB. By specifying the Top tube length, seat tube angle, and BB height. These are dimensions that i've found i like. i suggest riding a few bikes, and measuring the bits you think work. you'll soon get an idea of what you like. The 749mm front-centre is here for reference only, but does seem to be about right...
-
 Sheffield
 literatechimp: how2designerbike
in: Bike Drawings/Art310 views
none
nonedesigning a Dh bike - step 1; here i've started with the front wheel and head tube. Fork length and offset taken from a Boxxer. (15mm = lower h'set stack) (50mm fork sag)
-
 Sheffield
 literatechimp: frame-building
in: Parts - Suspension380 views | 7 comments
desktop
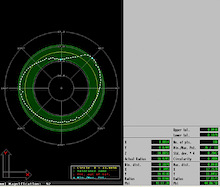
Revo5-axis CMM scan of my welded/distorted head tube.
-
 Sheffield
 literatechimp: 2009-Rebuild
in: Parts - Other336 views
kitchen
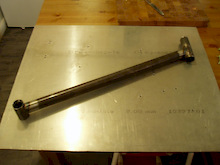
nonethe 'spine' of the new frame, headtube/downtube/BB. These 3 tubes were welded together in an Anvil journeyman jig. the rest of the work will be done on this plate. my apologies, i 'fixed' my old camera, but it doesn't seem much better than using my phone.
-
 Sheffield
 literatechimp: 2009-Rebuild
in: Parts - Other399 views | 4 comments
kitchen
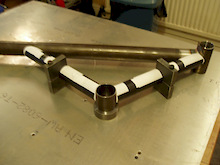
nonehow the next 3 tubes sit in the jig. You can see the spacer underneath the 'eye' of the frame.
-
 Sheffield
 literatechimp: 2009-Rebuild
in: Parts - Other456 views | 6 comments | 1 faves
kitchen
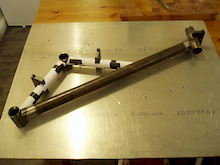
nonehow the next 3 tubes sit i the jig. (i say jig, obviously i mean 'large piece of 8mm Aluminium plate')
-
 Sheffield
 literatechimp: frame-building
in: Bike Drawings/Art356 views
my pc
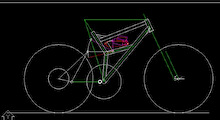
noneFebruary 2009: design update. it's a 180mm travel Dh bike, with a full-size seat tube so i can get the saddle high enough to pedal, this is the uk after all and there aren't many chairlifts in yorkshire.
-
 Sheffield
 literatechimp: how2makermitre
in: Bike Drawings/Art399 views
my pc
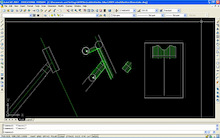
nonehow i create a mitre template, you can find free software which can do this for you, but i prefer to do it myself, and i can't find any software that can produce the template for a downtube gusset...
-
 Sheffield
 literatechimp: how2makermitre
in: Parts - Other373 views | 1 comments
my kitchen
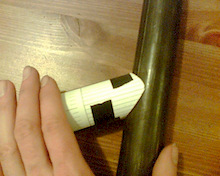
none7) how it fits together, after tidying it up with a file. this is a fiddly, time consuming job. if you're skint, and have a dremel, this can save you some money. if you know someone who can do this with proper tools, pay them lots of money to do the job well.
-
 Sheffield
 literatechimp: how2makermitre
in: Parts - Other317 views | 1 comments
my kitchen
none1) i'm going to make the Head-tube junction for the downtube. here i've got 1 paper template, and 2 bits of 38mm tube, TAPED together - to stop them moving, i ended up needing more tape than this, Duct tape.
-
 Sheffield
 literatechimp: how2makermitre
in: Parts - Other408 views | 2 comments
my kitchen
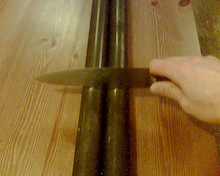
none2) i'm using a straight steel edge to scrape 2 shiny lines along the tubes - a steel ruler works well, but i'm using a big knife in honour of Eugene (BungedUP). later, i'll be calling these lines 'keel lines'
-
 Sheffield
 literatechimp: how2makermitre
in: Parts - Other294 views | 1 comments
my kitchen
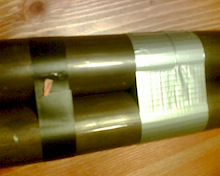
none3) the keel lines are tricky to catch on camera, but here they are, and i told you i used more tape...
-
 Sheffield
 literatechimp: how2makermitre
in: Parts - Other304 views | 1 comments
my kitchen
none4) here i've cut out the paper template, it's slightly longer on one edge so that it overlaps. i've cut holes out of the keel line on the template so that i can see the keel line on the tube. tape over these bits first.
-
 Sheffield
 literatechimp: how2makermitre
in: Parts - Other335 views | 1 comments
my kitchen
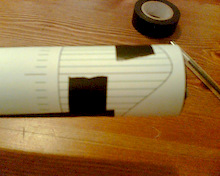
bic biro + leccy tape5) i've taped up the template, and it's dremel time!
-
 Sheffield
 literatechimp: how2makermitre
in: Parts - Other368 views | 1 comments
my kitchen
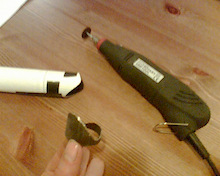
mr dremel6) here's my dremel, and the rough cut tube. see how the off-cut looks like a bishops hat? Dremels are noisy and nasty, wear earplugs, some old goggles and something to stop you breathing in the dust.