Stories posted under Pinkbike Community blogs are not edited, vetted, or approved by the Pinkbike editorial team. These are stories from Pinkbike users.
If a blog post is offensive or violates the Terms of Services, please report the blog to Community moderators.
DIY Foam Insert Tool Box
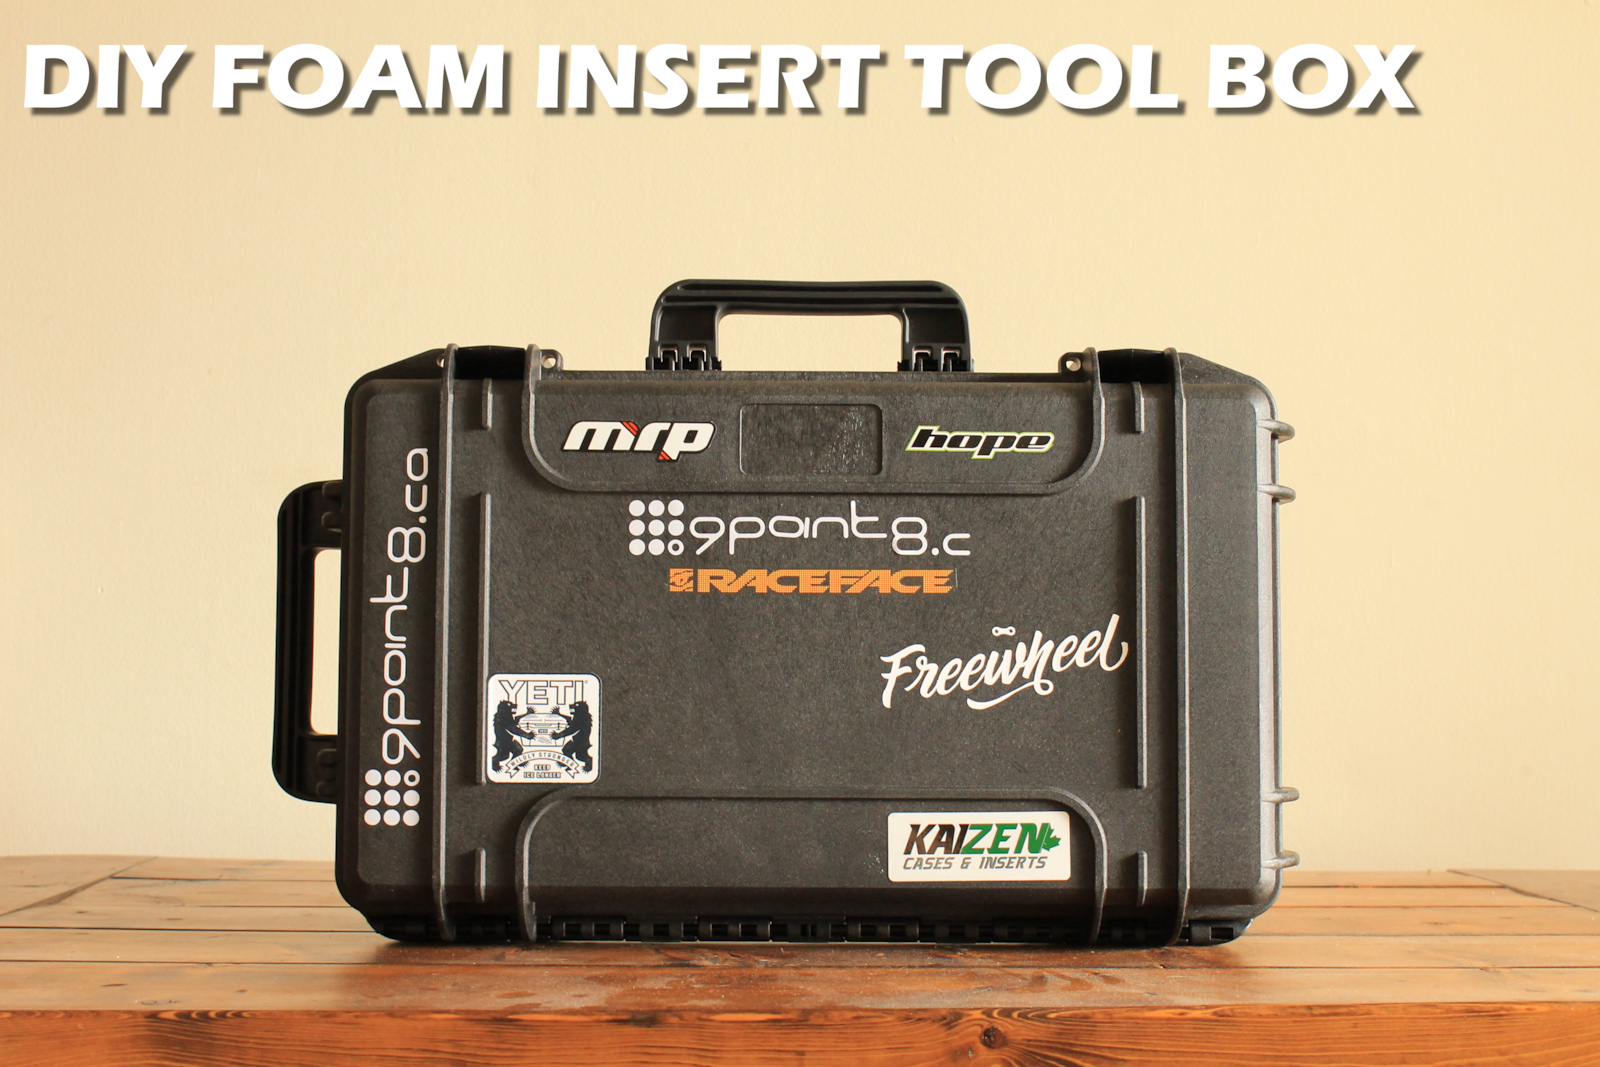
So I’ve always been a fan of a well-organized toolbox. To take with me to bike races and weekend bike trips. Abbey Tools a few months ago released a Team Issue Toolbox (Abbey Bike Tools) with well-organized foam inserts arranging many tools. After seeing this tool box it inspired me to build my own foam insert tool box. With some additional ideas found on Tool Box Wars Instagram (Tool Box Wars) I started my own Tool Box Project. For those that are interested in building their own foam insert tool box for themselves, you are welcome to continue reading for tips and tricks on how to build a tool box for yourself.
Over the years I’ve had a few different styles of tool boxes that I brought to races or weekend adventure rides. My first tool box was a basic metal tool box with a single removable layer. The tools were generally piled into the tool box without much coordination. To find the tool you were looking for usually involved digging through the tools.
After a few seasons of using this tool box, I moved onto a metal three drawer tool box. This gave me a little more freedom to organize the tools, but the tool box was very heavy and difficult to move. It took its own trip from my apartment down to my car to load it. At first the tools were loose inside the drawers. This made a lot of noise while driving. I eventually went to a fabric store and purchased cushion foam. I used this foam to cut out tool inserts for my three drawer tool box. This foam was very soft and didn’t really make a firm pocket for my tools. But it did successfully cut down on the tool noise while driving.
I eventually got fed up with the task of carrying my heavy tool box to the car for every trip. Also due to its size, it took up a lot of real-estate in the back of my hatchback. And so for these reasons, I switched to using a tool wrap. It was nice and compact. It was lightweight. And it kept the tools in their home. It was great and I would highly recommend it as a solution over my previous tool box options.
The issue with the tool wrap? It just wasn’t fancy enough for my liking. There is something about a carefully cut and organized foam insert pelican case tool box that had me wanting one. Yes, it’s a little bigger and heavier. Yes, it’s a little more pricey. Does it have style? Yes. Does it make you look like you know what you are doing? Yes! So as soon as I saw the Abbey tool box, I knew I had to make my own. So I started purchasing the materials I needed to build my tool box. The links below are provided for your convenience. The webbing for the handles took some Googling to find. I knew what I wanted, but didn’t know the right keywords to figure out where I could buy it.
MATERIALS
• Water Proof Case (eg. Pelican Case) – Canadian Tire
• Kaizen Foam Sheets – Kaizen Cases and Inserts
• Polypropylene Webbing – Amazon
• Polypropylene Webbing – Amazon
• Acrylic Sheet – Amazon
TOOLS
0% Loaded
1/4
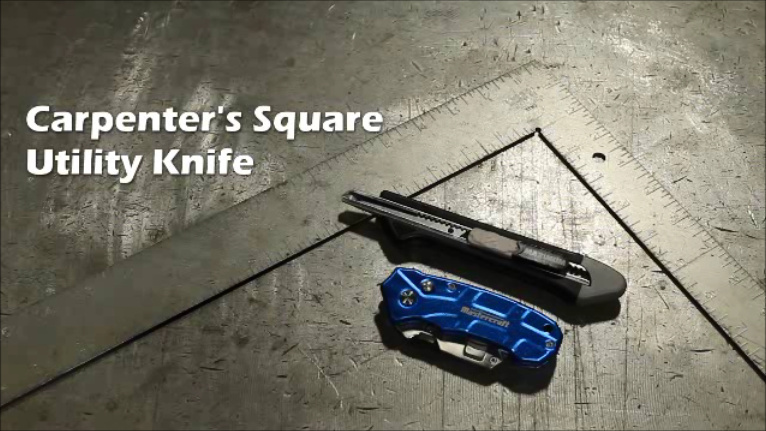
Making your own tool box will require lots and lots of cutting of foam. So getting a good, sharp utility knife is important. To make your life easier, you will want to make sure your utility knife can cut through your thickest foam sheet. This will make cutting the foam sheets to size easier. As well as make cutting the deep pockets for the small parts containers less of a headache. A carpenter’s square is not absolutely necessary, but highly recommended. It will make cutting the foam sheets to size much easier. I did a couple test sheets freehand and they ended up having a pretty jagged edge. You will need something to measure out the size of the foam sheets to cut to size anyways. You will also need something to measure for the cuts to install the handles.
If you are making your own foam insert tool box, it’s probably because you have a lot of tools. So you will probably be doing lots and lots of tracing out of your tools. Get yourself a nice fresh black permanent marker. It will clearly show up against the dark grey foam so you won’t have trouble seeing it. You’ll notice when you start plucking out the foam from your tool pockets that the permanent marker will make your fingertips go black… it eventually washes off. To make the tools easier to pull out of the foam, you will want to cut some pluck points. You can buy some fancy tools to make these pluck points. But I just used a large washer I had in the shop. Worked well enough and I didn’t have to purchase another tool.
Since the handles are being made out of fabric, I figured that the most robust way to attach them was to use thread.
To support the foam, I used a backing board. To attach the foam to the backing board I used a hot glue gun. Based on my experience, I would not recommend using hot glue again. I would recommend using an adhesive that didn’t rely on heat and had a longer curing time. I will explain more about this later.
The first step to building your tool box will be to cut the foam inserts to a size that fits with in the tool box you purchased. The inside dimensions are usually specified with the product documentation provided with the box. If not, you can always measure the box yourself. The inside dimensions of my box were 11” x 20”. So I bought foam sheets that were 12” x 24”. Some boxes will come with foam already inside. My box came with pick and pluck foam sheets. You could use these sheets to build your tool box. It might even be a good idea to use the pick and pluck foam to feel out the layout of your tool box before committing to cutting up your foam. I have used pick and pluck foam in the past and I found that it didn’t hold up for a long period of time when you have a lot of tools closely spaced. Another use for this foam is to use it for a template to draw out the overall cut dimensions of your new foam sheets. Once you have traced out the overall dimensions of the foam sheets using the permanent marker, use the carpenter’s square to cut each edge straight with the utility knife. With each of your foam sheets cut to size, you can move onto prepping the foam for the handles.
There are few varieties of styles of handles I’ve seen for the middle layers. I’ve seen very simple options that cut a through pocket on either side of the layer. These pockets are wide enough to get your hands in around the edges of the layer. I’ve also seen options were people have used webbing or fabric similar to what I used. These handles then squeeze around the edge of the foam to be accessed from the top. Each has their advantage and disadvantage. But I wanted a method that was a little more robust and looked a little more finished.
I wanted the handle webbing secured well to each layer. I didn’t want to worry about glue breaking off from the foam at any time. This is why I cut the handles through the foam layer and sewed the open ends of the handle back together on the underside of the foam. This way I did not have to worry about any glue deteriorating and the strength of the foam would keep it together. To keep with the finished look, I cut a pocket for the handle to sit in on the tool side of the foam. This way the handles would sit flush with the top of the foam. In hindsight, I should have cut a pocket on the backside of the foam as well. I had expected that the very thin webbing would compress into the foam when glued to the backing board. But in combination with the glue, the handles sat a bit higher than I would have liked.
Doing the handles this way was very time consuming, but I think it makes for a better looking more robust handle in your tool box.
Many of the foam insert tool boxes I’ve seen online don’t show the back of the foam layers. So I’m not sure what other people have been doing to support the foam layers. I was concerned that the foam wouldn’t be strong enough to support all the tools in a layer on its own. So for the layers of my tool box that were removable, I supported the foam with backing board. I had originally planned on using thin plywood board for this, but Home Depot only sold 4’ x 8’ sheets and I only need two 1’ x 2’ sheets. The Home Depot method was much cheaper at only about $9 for the sheet, but then I would have to deal with a lot of extra material. So instead I purchased 1/8” acrylic sheets off Amazon. Not discussed in my video, but I cut these sheets down to size using the laser engraver at my work.
To attach the backing board to the foam I used hot glue but I would recommend against this. The hot glue gun tip would melt the foam. So I had to be careful not to touch the foam with the glue gun. I also found that the glue solidified very quickly and made a large glue gap between the foam and the backing board. It also forced me to rush through this step. I had practiced using hot glue on some scrap foam I had. These practice runs were very successful, but this success did not scale well to the full sized layer. I also found that the hot glue warped the acrylic a bit. Although, after a few weeks in the tool box the compression between the layers has mostly fixed the warping.
So for those looking to do your own tool box, I would recommend a different adhesive for this step. I would recommend you find a slower curing adhesive that doesn’t rely on heat. It’ll increase the time of your tool box build, but I believe the final product will be worth it.
I worked on my tool box slowly over a couple of months. So I had some time to work on and think about the layouts of my tools on each layer. Some of the layouts on my layers are pretty close to the Abbey tool box. My advice on developing your foam layer layouts is to make sure that your frequently used tools are on the most accessible layers. For this reason, you will see that my allen keys, shock pump, tire gauge, and tire levers are on the 1st middle layer and the lid layer. Another important consideration is the thickness of the foam on each layer and the width of your tools. You don’t want to begin cutting into your foam only to realize the tool will be sticking out of the foam when you are done.
Once you have settled on the layout of your foam layers, trace out the tools using a permanent marker. You will want to make sure you are cutting the foam one sub-layer at a time. You will also want to cut on the inside of your trace lines. This will make sure that your tool pockets are slightly smaller than the tool itself so that the foam is squeezing the tools a bit. This will help keep the tools in the foam. If you have tools in your lid this is even more important as they might fall out each time you open the tool box.
When you are satisfied with the tool pocket depth, it is time to make the pluck points to pull out your tools. As I mentioned previously, I used a washer to trace out the pluck points. You can buy a tool for this if you would like. I found that not all tools required a pluck point. For instance, the scissors had their own grab points in the handle. The depth of the pluck points is also up to you. If you can easily pull the tool out of the foam, then the pluck point is deep enough.
If your tool box was like mine and had a lid depth that didn’t match an easily purchasable foam thickness. Then you might want to consider gluing two sheets together. This is what I did. I first cut the tools into the top sheet for my foam double layer. I did this before gluing the sheets together so that I would know where glue would be needed and where it wouldn’t be needed. Again I used hot glue, but would recommend finding an alternative. I had to be a bit more careful gluing foam-to-foam as there wasn’t a surface that wouldn’t be melted by the glue gun. Once the sheets were glued together, I continued cutting the tool pockets until they were the proper depth.
After I finished my tool box I found a useful tip that would have made the bottoms of my tool pockets cleaner. This person used a smaller blade to cut the bottom side of the foam sub-layer as you are pulling the foam out. It looked to create a much more consistent surface on the bottom of the tool pocket.
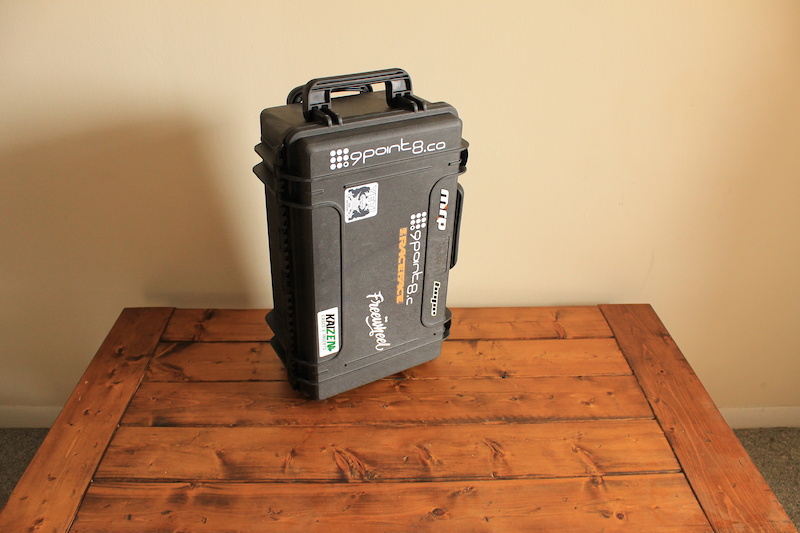
FINAL PRODUCT
0% Loaded
1/11
Shown above are some finished pictures of my tool box. I’ve added a few more tools to the box since I made the video. I still have a couple more tools I would like to add. Such as a syringe for bleeding brakes. But I am hesitant to add it to the box until I found a way to keep the rest of the tools from being covered in brake fluid.
Overall I am pretty happy with how it turned out with the noted exceptions. I do want to eventually fix how the backing boards are attached to the middle layers. But I will keep it the way it is for now. I will give the tool box a season and see how I like the layouts of the tools. If I decide I want to change up the layouts, then it will give me the opportunity to fix the backing boards while cutting new foam. If I find I like the layouts. I will try and pull the backing boards off the foam without wrecking the foam. With some patience I should be able to remove the glue from the acrylic sheets. And the glue should mostly come off the foam as well with some minor cratering on the backside that won’t be seen in the finished product. I haven’t looked into a new adhesive yet. But I’m sure there is something out there. Your standard white glue will likely be the first thing I try. While the backing boards are off, I would also like to pocket out a spot on the backside of the foam for the handles.
Well there you have it. My finished off tool box project. Hopefully by reading this blog post you will be inspired to make your own foam insert tool box. And I hope that some of the tips I have provided will make it easier for you to build your own tool box.
LID:
• Mastercraft Side Cutters
• Mastercraft Needle Nose Pliers
• Park Tool VC-1 Valve Core Tool
• Park Tool VP-1 Vulcanizing Patch Kit
• Cassette Tool
• Park Tool SD-Set Shop Screwdriver Set
• Accu-Gage 0-30 psi
• Park Tool SW-0 Spoke Wrench
• Scissors
• Mastercraft Side Cutters
• Mastercraft Needle Nose Pliers
• Park Tool VC-1 Valve Core Tool
• Park Tool VP-1 Vulcanizing Patch Kit
• Cassette Tool
• Park Tool SD-Set Shop Screwdriver Set
• Accu-Gage 0-30 psi
• Park Tool SW-0 Spoke Wrench
• Scissors
1st MIDDLE LAYER:
• Park Tool SR-1 Sprocket Remover/Chain Whip
• Open Ended Wrench 1”
• Tire Levers
• Fox Shock Pump
• Park Tool TWS-1 Torx Wrench Set
• Maximum Metric Hex Key Set
• Bicycle Shaped Bottle Opener
• Mini Maglite (Cub Scouts Canada Edition)
• Park Tool SR-1 Sprocket Remover/Chain Whip
• Open Ended Wrench 1”
• Tire Levers
• Fox Shock Pump
• Park Tool TWS-1 Torx Wrench Set
• Maximum Metric Hex Key Set
• Bicycle Shaped Bottle Opener
• Mini Maglite (Cub Scouts Canada Edition)
2nd MIDDLE LAYER:
• Unior 1666/2DP Rotor Truing Fork
• Unior 1720/2DP Master Link Pliers
• Pro Chain Tool
• Park Tool CC-3.2 Chain Checker
• Axiom Chain Ring Bolt Wrench
• Bike Cable Cutters
• Mastercraft Pliers
• Park Tool BBT-22 Bottom Bracket Tool
• Mastercraft Utility Knife
• Unior 1666/2DP Rotor Truing Fork
• Unior 1720/2DP Master Link Pliers
• Pro Chain Tool
• Park Tool CC-3.2 Chain Checker
• Axiom Chain Ring Bolt Wrench
• Bike Cable Cutters
• Mastercraft Pliers
• Park Tool BBT-22 Bottom Bracket Tool
• Mastercraft Utility Knife
BOTTOM LAYER:
• Small Parts Container 1 (Grease, Chain Lube, Carbon Paste, Shimano Bleed Kit)
• Small Part Container 2 (Miscellaneous Parts, cable crimps, cable ferrules etc.)
• Open Ended Wrench 7mm/8mm
• Nalgene with Shimano Brake Fluid
• Spray Bottle with Isopropyl Alcohol
• Park Tool PP-1.2 Hydraulic Brake Piston Press
Author Info:

 Member since Jul 30, 2008
Must Read This Week
Sign Up for the Pinkbike Newsletter - All the Biggest, Most Interesting Stories in your Inbox
PB Newsletter Signup
0 Comments
Login or Sign Up