How To: Suspension Fork Bushing Resizing
Not all forks are created equal! Due to manufacturing tolerances and slight changes on the assembly line some forks have more friction between the upper stanchions and the fork bushings than others. Some forks will feel great out of the box but some can feel a little harsher than you would expect.
There should be a very small gap between the fork bushing and the stanchion. This gap allows the lubricating oil to form a thin film between the stanchion and bushing reducing friction and minimising wear. If the bushing is too tight then oil can’t effectively get between the two sliding surfaces.
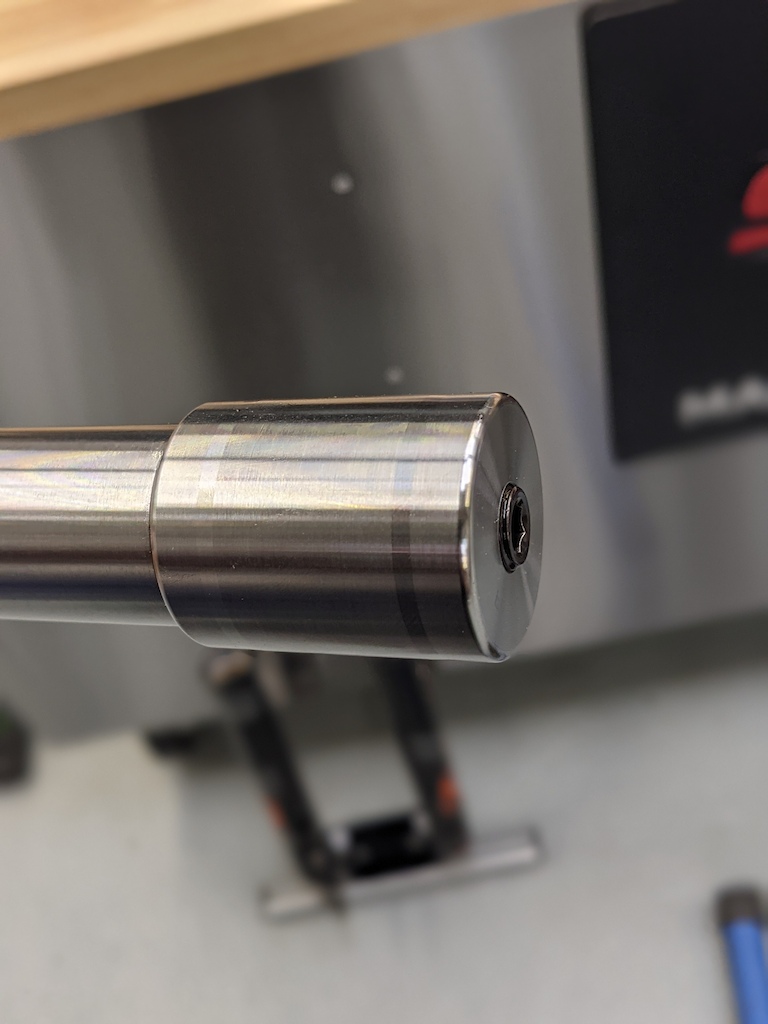
We can use a resizing tool to adjust the gap between stanchion and bushing
You can use a bushing resizing tool to re-shape and resize the bushings. The bushing resizing tool works by pushing a precision machined burnishing tool through both the upper and lower bushings to resize them and force them into round. This forces the bushings to gently expand to the correct size and shape allowing proper oil flow between bushing and stanchion and reducing fork harshness.
This is generally considered quite an advanced process but with a little care and attention anyone who’s capable of basic fork maintenance should be able to do this themselves with the right tools.
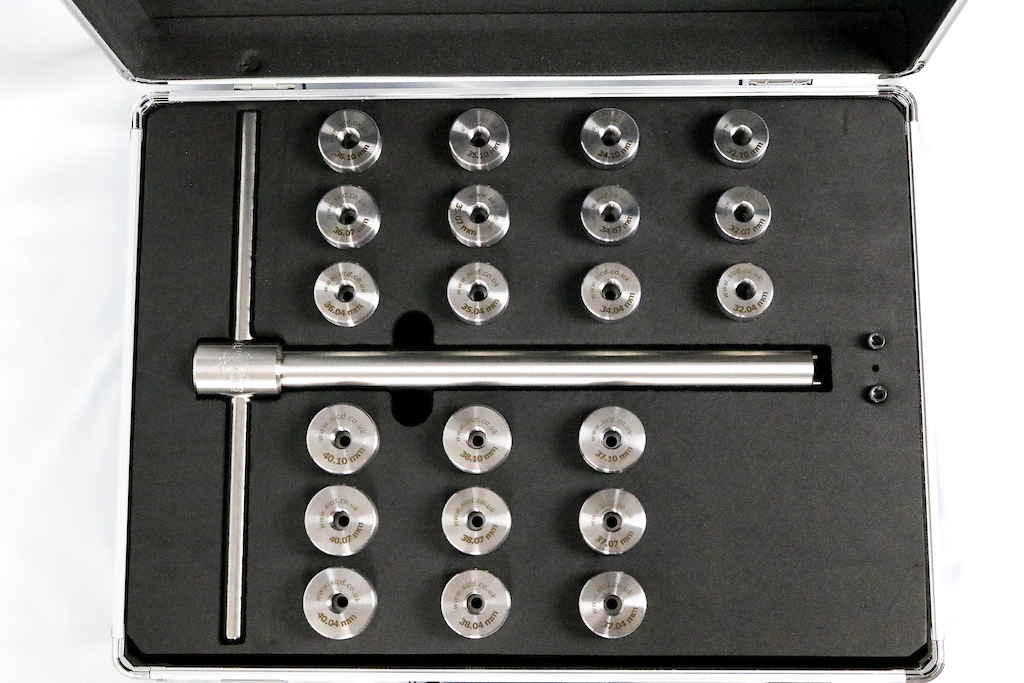
Our Suspension Bushing Resizing Tool comes with a wide range of sizes
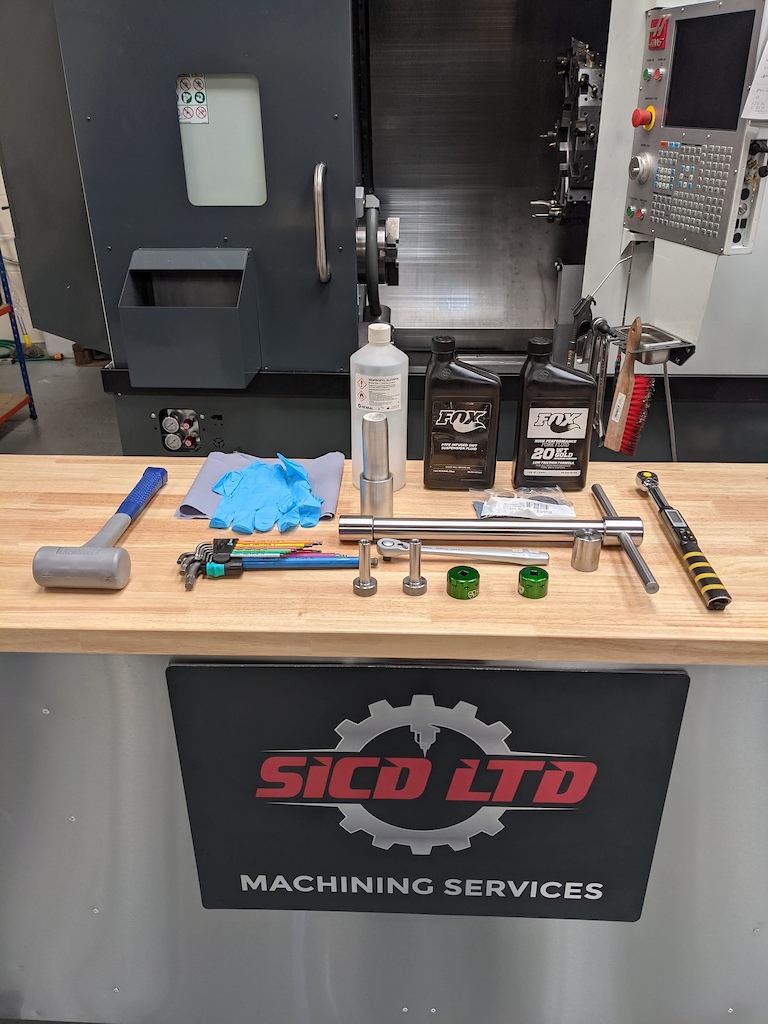
To do this you will need:
Lower leg removal tools suitable for your forks.
The correct oils as recommended by your fork manufacturer.
Suitable sockets or spanners to remove the top caps if you plan on doing so.
Allen keys.
A hammer (dead blow is my preferred hammer but any hammer will do).
Rubber gloves and plenty of clean towel to wipe up spills etc. Isopropyl alcohol is recommended for cleaning up.
New seals are optional but recommended. To check the bushings we’ll be removing the seals and it’s good practice to put new ones in when we’re done.
A bike stand makes life a lot easier!
A drip tray to catch the old oil we will be draining from the forks.
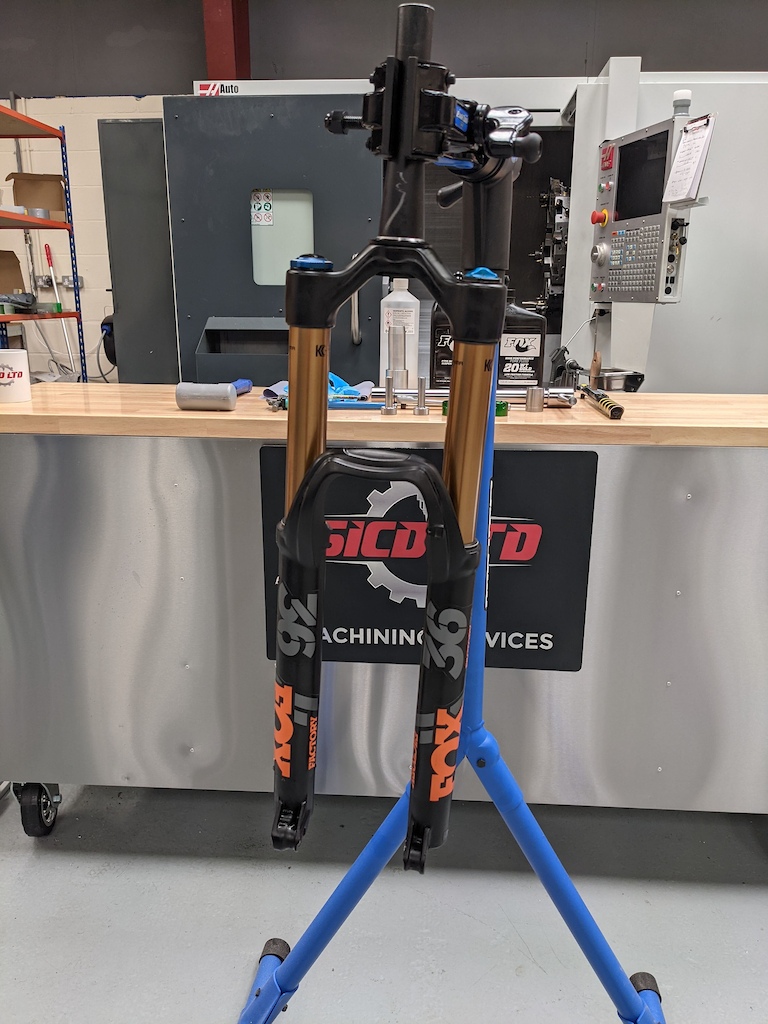
Today I'm working on a set of Fox 36's
I’m doing this on my Fox 36 Grip 2 fork. Your fork may differ slightly but the principle is the same. If in doubt, consult your manufacturers service manuals. When working on suspension forks it is always advisable to work on clean forks in a clean environment to minimise the risk of any dirt making its way inside your fork which could cause premature wear.
This guide is based on the assumption that you have read and understood the manufacturers service manuals and have taken all the necessary precautions to ensure the job can be performed safely.
First we need to remove any adjusters that may be on your fork. In this case I remove the high and low speed rebound adjusters before using the Fox lower leg removal tools to free the spring and damper shafts from the lower legs.
Once the spring and damper shafts have been freed we’ll need to drain the oil from the lower legs. It helps here to have a bike stand. Turn the forks so that the oil can drain through the holes in the bottom of the lowers. Keep hold of the lowers while doing this to make sure they don’t fall.
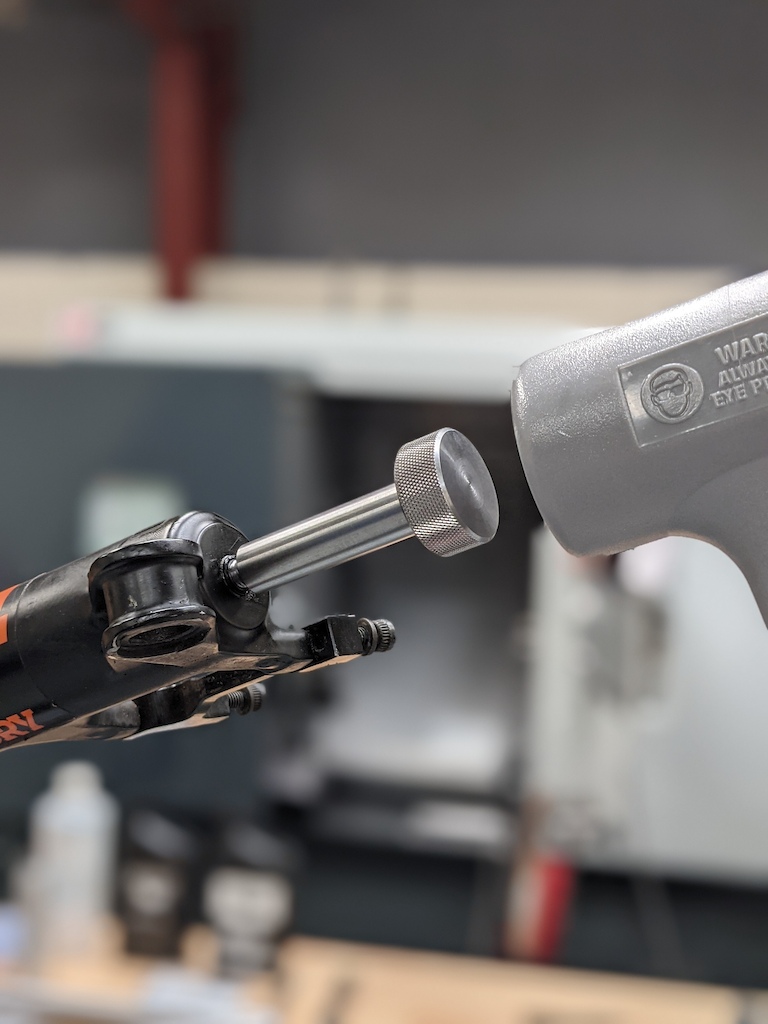
Using the appropriate lower leg removal tool to ensure the threads / damper controls aren't damaged
Once most of the oil has drained from the forks we can gently slide the lower legs from the uppers. Leave the lowers somewhere where any remaining oil dripping out isn’t going to cause a problem (I’m leaving them in the drip bucket) while we clean the uppers.
At this point, while not essential, you can remove the spring and damper assemblies. This makes checking the bushing fit easier. If you have an air spring please remember to relieve all pressure from them before doing this!
Once the uppers have been cleaned we need to clean the lowers using some clean towel and some isopropyl alcohol.
Using an open ended spanner we can remove the wiper seals. While not essential this will allow us to test the bushing fit without having to worry about friction from the seals.
Hook the spanner under the seals and gently pry up. Don’t be tempted to use a screwdriver. You will almost certainly scratch the inside of the lowers doing this which could compromise the seals.
It is recommended to put new seals in when the job is finished.
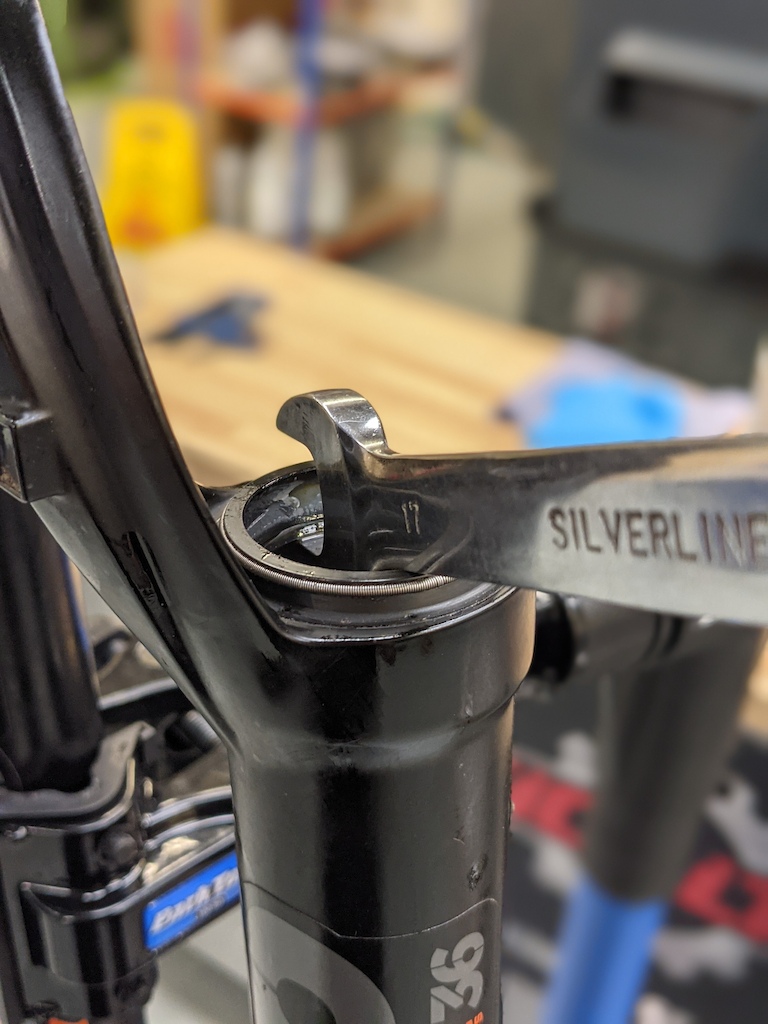
Removing the old seals
Now the seals are out we can test the fit of the bushings. If you’ve left your spring and damper in place let all of the air out of the spring or remove the coil. Turn your rebound to full on and compress the damper shaft.
Lightly oil the bushings and uppers with the recommended lower leg lubrication oil and carefully put the uppers into the lowers and engage the fork into the bushings by gently guiding them in.
Once you can feel the lower bushing has engaged just let go. If the bushings are correctly sized then the uppers should gently glide into the lowers until they come to a gentle rest at the bottom of their travel. If they require any external force to do this or are a bit sticky then there’s a good chance your forks will benefit from having the bushings resized.
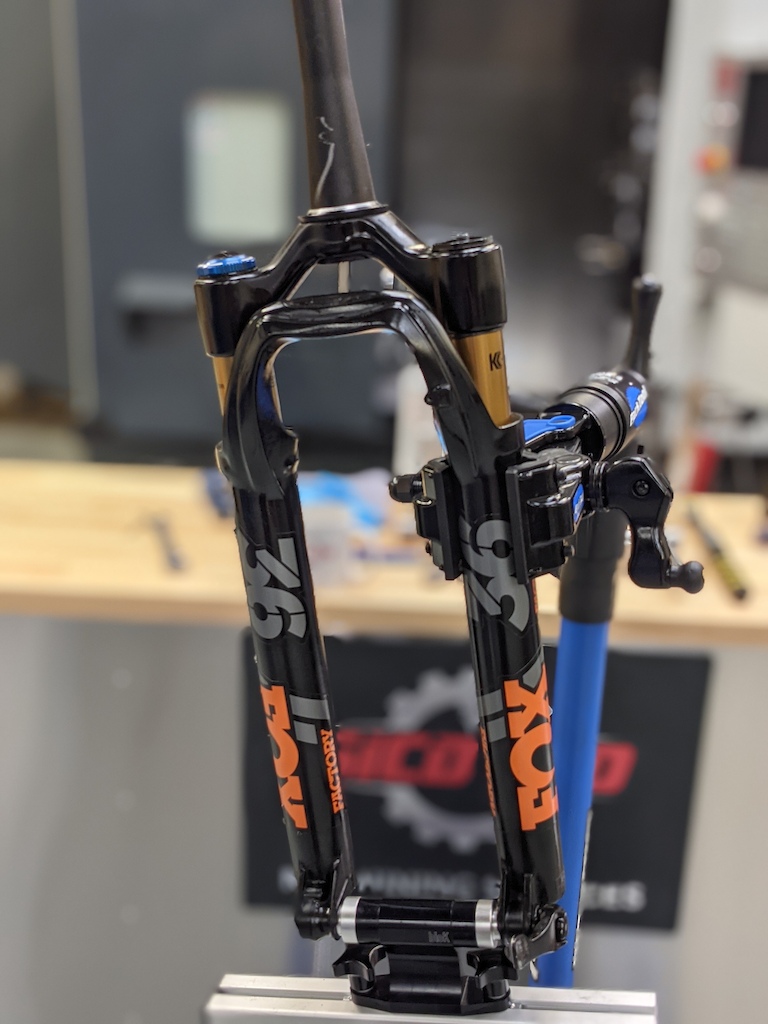
Testing the fit of our stanchions in their bushings
Note that in this picture I am clamping on the lower legs. When clamping any tube care must be taken not to deform it. In the case of our fork lowers you should use just enough clamping force to hold them in place. If you crank it right up you run the risk of deforming the bushings and giving a false result.
Now it’s time to resize our bushings. The resizing tool is made up of two main parts – the handle and the burnishing head.
When we resize bushings, we actually force them slightly oversized. We offer two or three sizes depending on the kit (custom sizes available on request) – xx.07 and xx.10. In this example I am working on a Fox 36 fork so the sizes I would need are 36.07 and 36.10. We also offer a Pro version of the kit which contains an additional +0.04 mm size.
Take the xx.07 head, align it to the handle and secure it to the handle using the M6 bolt provided. The V2 tools use two anti-rotation dowel pins to prevent the heads from spinning in use. The original design used a crush washer however the bushings in the newer Zebs are tight enough to cause the heads to spin. The heads also have an M12 x 1.5 thread in them. This isn’t required if your tool has dowel pins although it has been included to retain backwards compatibility with the V1 tools.
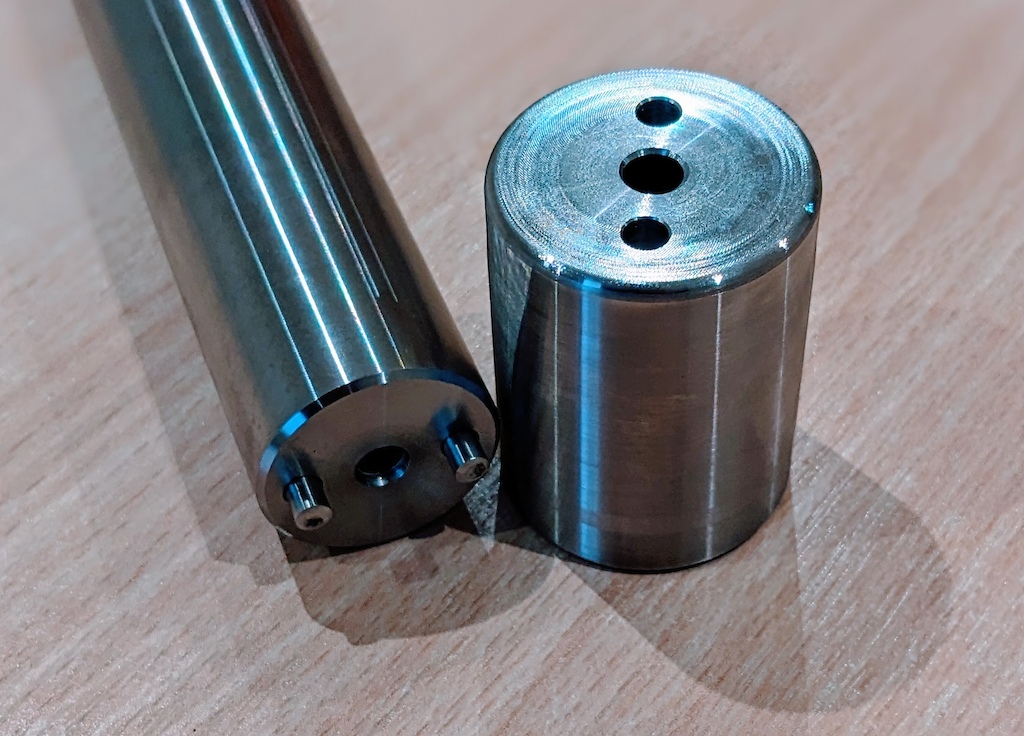
The latest version of the tool uses anti rotation dowel pins to prevent anything from moving in use!
The tools are precision machined and self-guiding for ease of use. Whilst applying a downward pressure work the tool through both the upper and lower bushings. Take care when the tool is close to the bottom of the bush as it can exit with some force! Use plenty of oil on the tool to make life a bit easier. Repeat on the opposite side.
Once we have pushed the xx.07 tool through it’s a good idea to preform another test with the uppers. Some forks benefit from having the next size up pushed through while some don’t need it. If your forks are still a little tight then repeat with the xx.10 head. This will likely take a bit more force to get through. It makes life a lot easier if you have something to secure the lowers to. In the pictures above you can se I’m using a repurposed bike carrier designed for carrying bikes in the back of a van or pickup.
Congratulations – you are now one step closer to buttery smooth suspension! Just reassemble with new seals and oils as per the manufacturers recommendations and you’re good to go! You should notice the forks feel much smoother and small bump compliance has improved considerably. The best part however is that, once your bushings are correctly resized they will feel smoother for longer between service intervals. Because the oil is now able to do what it’s meant to do your fork won’t start to feel sticky after only a few rides.
Click here to find out more.
Author Info:

 Aberdeen, United Kingdom
Must Read This Week
To be honest, as much as I'd like everyone to buy my tools, for the average person it's probably more cost effective to take your forks to a local shop / service centre to have the bushings resized. I've got shops worldwide using these tools and can probably put you in touch with someone local.