Pumping: Another View
So after quite a bit of research I’ve found a few different views and techniques for pumping, as mine is very different I thought I’d share it with the world to see if it helps any of you out!
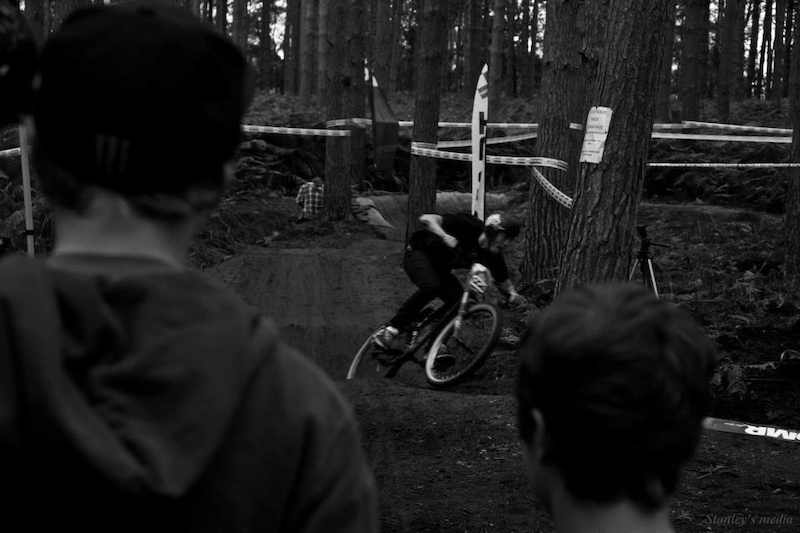
![Credit Stanleys media]()
As some of you know pumping is the golden skill in the mountain bike world for those of you that don’t make it your main skill to learn. Pumping is used for everything, jumping, drops, cornering and rough terrain along with other. Moral of the story is only pedal when pumping can’t be used efficiently or pedalling will bring substantially more speed.
The pumping movement
I try to get my clients to compare the pumping technique to bouncing on a trampoline. The lower you get, the more effort you put in to the bounce, the more you get out of it. Another way of looking at it is that bouncing on a trampoline is never forced, you always follow the movement in a smooth, fluid movement. The more you take too much control the more mechanical it is which works against the efficiency of the pumping technique. So weight and un weight by using your body weight and avoid pushing and pulling at all costs as its wasted energy. A few tips are to roll your wrists back and drop your heels slightly. This makes the pumping technique more efficient by directing the momentum under the front wheel rather than over it when having straight wrists. If you struggle with this try to drop your elbows through the movement to allow you to relax.
I always say its better to over exaggerate the movement at first to find the feeling yourself and to train your body to the muscle memory of the movement. Try and feel the movement more than think it as you’re applying it, its trusting your brains already processed it and letting your body go with it. Also the more of a rhythm you get into the smoother and more efficient the pump is. Try carrying one pump to another to improve your flow and energy management on the course.
Pumping points
I break down pumping into pumping points to create different pumping outcomes. This is normally demonstrated with cones placed on the upslope of a transition or takeoff. You have 2 pumping points, a low and a high.
Low pump
A low pumping point is used to direct forwards momentum and to take away the lift from the transition instead of scrubbing speed. The low pump generally finishes half way up the transition and starts on the flat part before it starts but the faster you go the earlier the pump starts. The aim is to unweight the body over the upper part of the transition so you don’t lose any of the speed and momentum you entered with and then to add to it by dropping the weight the back side of the transition to add to that current momentum thus upping the overall speed.
A low pump can be used for different outcomes still, to keep the bike on the ground and eliminate lift and also to keep the bike low whilst jumping by not over exaggerating the movement.
High pump
The high pump is used to gain upwards momentum and height on jumps. This also has two starting points. One is from half way up the transition to the top to make sure you gain proper upward momentum and use the takeoff properly. This is used on the longer transitions or mellow ones where it would be hard to pumping from the bottom to the top of the transition without it running out of momentum and movement. The second one is to pump from the bottom of the transition to the top on smaller or steeper takeoffs where you can’t runout of the pumping movement before the end of the transition.
The lower your body is in the transition the more upwards momentum you gain and the steeper the momentum arch. The momentum arch is the arch in which the momentum follows in the air. The more exaggerated the high pump is the steeper the arch. The thing to remember is steep up is steep down which isn’t always needed. To counteract this try holding the bars till the point in which your upwards momentum runs out which will avoid the back wheel overtaking the front.
So you have you two different points, two different options. Remember that there are always options within those options. The harder you work in those pumping points in regards to weighting and un weighting (not pushing and pulling) the more you get out. For the jumps and corners where you don’t need to get as much out of it or you have excess speed the less you can exaggerate rather than scrubbing speed keeping it efficient.
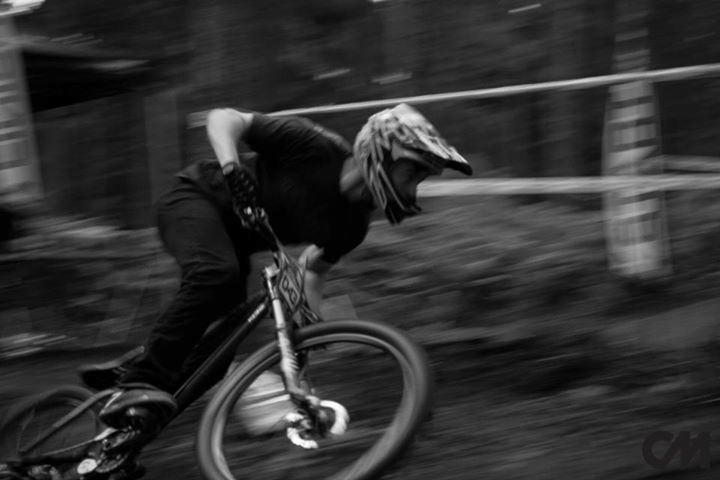
Pumping through corners
![Credit Cranked media]()
Pumping through corners aids momentum carried through along with grip but done the wrong way and you can lose grip and blowout. Knowing when is just cornering experience and also judgement in different surfaces but the more you use it the quicker and more predictable your cornering and trust in grip gets.
I tend to pump mainly through tighter corners or steeply banked corner where you can commit your weight without losing too much grip. Pump tracks are a prime example of this. I see so many people creating great speed over the rollers only to lose it in the corners. Carry it through, lower the body, apply the pressure with bodyweight and keep it relaxed, un weight out of the corner to carry it all through and even build on it. Practice is key to maximum efficiency with cornering and its learning to find the limit as there always is one. Remembering that through correct corning technique pushing the corning to the point of loss of grip isn’t always severe due to the correct weight distribution and body positioning.
Loose or flat corners you should use less of a high pressure pump and more of a consistent pressure, more of a lowering of the body to create to lower centre of gravity to give a better balance point and continuous grip throughout. Lastly an early pump in a corner can be used to carry speed out along with aiding line choice to exit early or late depending on how much weight applied in the pump and tightness of the corner.
![Credit Bambi s Bounty]()
In a nutshell
Use your pump wherever possible and try to bounce your bodyweight to keep it relaxed as possible. The more you pump the faster, more precise, fluid and enjoyable your riding will become. In my eyes its the most valuable skill to learn on a bike and can make you look at terrain and trails in a completely different way. Along with all explained above the usual looking in the correct position and other skills apply. Sorry to blabber on but I hope this helps some people out. Get out and practice and keep it relaxed!
Tom
www.tomdowie.com
Thanks to Cranked Media and Bambi's Bounty for the photos
As some of you know pumping is the golden skill in the mountain bike world for those of you that don’t make it your main skill to learn. Pumping is used for everything, jumping, drops, cornering and rough terrain along with other. Moral of the story is only pedal when pumping can’t be used efficiently or pedalling will bring substantially more speed.
The pumping movement
I try to get my clients to compare the pumping technique to bouncing on a trampoline. The lower you get, the more effort you put in to the bounce, the more you get out of it. Another way of looking at it is that bouncing on a trampoline is never forced, you always follow the movement in a smooth, fluid movement. The more you take too much control the more mechanical it is which works against the efficiency of the pumping technique. So weight and un weight by using your body weight and avoid pushing and pulling at all costs as its wasted energy. A few tips are to roll your wrists back and drop your heels slightly. This makes the pumping technique more efficient by directing the momentum under the front wheel rather than over it when having straight wrists. If you struggle with this try to drop your elbows through the movement to allow you to relax.
I always say its better to over exaggerate the movement at first to find the feeling yourself and to train your body to the muscle memory of the movement. Try and feel the movement more than think it as you’re applying it, its trusting your brains already processed it and letting your body go with it. Also the more of a rhythm you get into the smoother and more efficient the pump is. Try carrying one pump to another to improve your flow and energy management on the course.
Pumping points
I break down pumping into pumping points to create different pumping outcomes. This is normally demonstrated with cones placed on the upslope of a transition or takeoff. You have 2 pumping points, a low and a high.
Low pump
A low pumping point is used to direct forwards momentum and to take away the lift from the transition instead of scrubbing speed. The low pump generally finishes half way up the transition and starts on the flat part before it starts but the faster you go the earlier the pump starts. The aim is to unweight the body over the upper part of the transition so you don’t lose any of the speed and momentum you entered with and then to add to it by dropping the weight the back side of the transition to add to that current momentum thus upping the overall speed.
A low pump can be used for different outcomes still, to keep the bike on the ground and eliminate lift and also to keep the bike low whilst jumping by not over exaggerating the movement.
High pump
The high pump is used to gain upwards momentum and height on jumps. This also has two starting points. One is from half way up the transition to the top to make sure you gain proper upward momentum and use the takeoff properly. This is used on the longer transitions or mellow ones where it would be hard to pumping from the bottom to the top of the transition without it running out of momentum and movement. The second one is to pump from the bottom of the transition to the top on smaller or steeper takeoffs where you can’t runout of the pumping movement before the end of the transition.
The lower your body is in the transition the more upwards momentum you gain and the steeper the momentum arch. The momentum arch is the arch in which the momentum follows in the air. The more exaggerated the high pump is the steeper the arch. The thing to remember is steep up is steep down which isn’t always needed. To counteract this try holding the bars till the point in which your upwards momentum runs out which will avoid the back wheel overtaking the front.
So you have you two different points, two different options. Remember that there are always options within those options. The harder you work in those pumping points in regards to weighting and un weighting (not pushing and pulling) the more you get out. For the jumps and corners where you don’t need to get as much out of it or you have excess speed the less you can exaggerate rather than scrubbing speed keeping it efficient.
Pumping through corners
Pumping through corners aids momentum carried through along with grip but done the wrong way and you can lose grip and blowout. Knowing when is just cornering experience and also judgement in different surfaces but the more you use it the quicker and more predictable your cornering and trust in grip gets.
I tend to pump mainly through tighter corners or steeply banked corner where you can commit your weight without losing too much grip. Pump tracks are a prime example of this. I see so many people creating great speed over the rollers only to lose it in the corners. Carry it through, lower the body, apply the pressure with bodyweight and keep it relaxed, un weight out of the corner to carry it all through and even build on it. Practice is key to maximum efficiency with cornering and its learning to find the limit as there always is one. Remembering that through correct corning technique pushing the corning to the point of loss of grip isn’t always severe due to the correct weight distribution and body positioning.
Loose or flat corners you should use less of a high pressure pump and more of a consistent pressure, more of a lowering of the body to create to lower centre of gravity to give a better balance point and continuous grip throughout. Lastly an early pump in a corner can be used to carry speed out along with aiding line choice to exit early or late depending on how much weight applied in the pump and tightness of the corner.

In a nutshell
Use your pump wherever possible and try to bounce your bodyweight to keep it relaxed as possible. The more you pump the faster, more precise, fluid and enjoyable your riding will become. In my eyes its the most valuable skill to learn on a bike and can make you look at terrain and trails in a completely different way. Along with all explained above the usual looking in the correct position and other skills apply. Sorry to blabber on but I hope this helps some people out. Get out and practice and keep it relaxed!
Tom
www.tomdowie.com
Thanks to Cranked Media and Bambi's Bounty for the photos
Author Info:

Must Read This Week
Sign Up for the Pinkbike Newsletter - All the Biggest, Most Interesting Stories in your Inbox
PB Newsletter Signup
3 Comments
- 1 0
good little post there tom, actually quite helpful. cheers for the credit as well buddy.
- 1 0
Thanks for this!
- 1 1
This post is written in an awkward manner.
Login or Sign Up