Reverse Components Releases the Travel & Sag Indicator 2.0
Press Release: Reverse Components
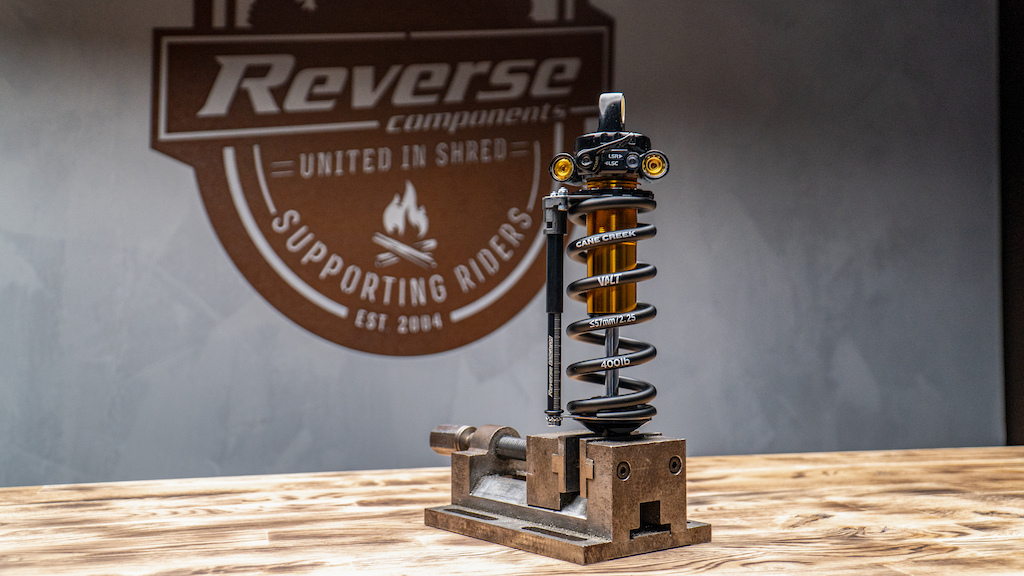
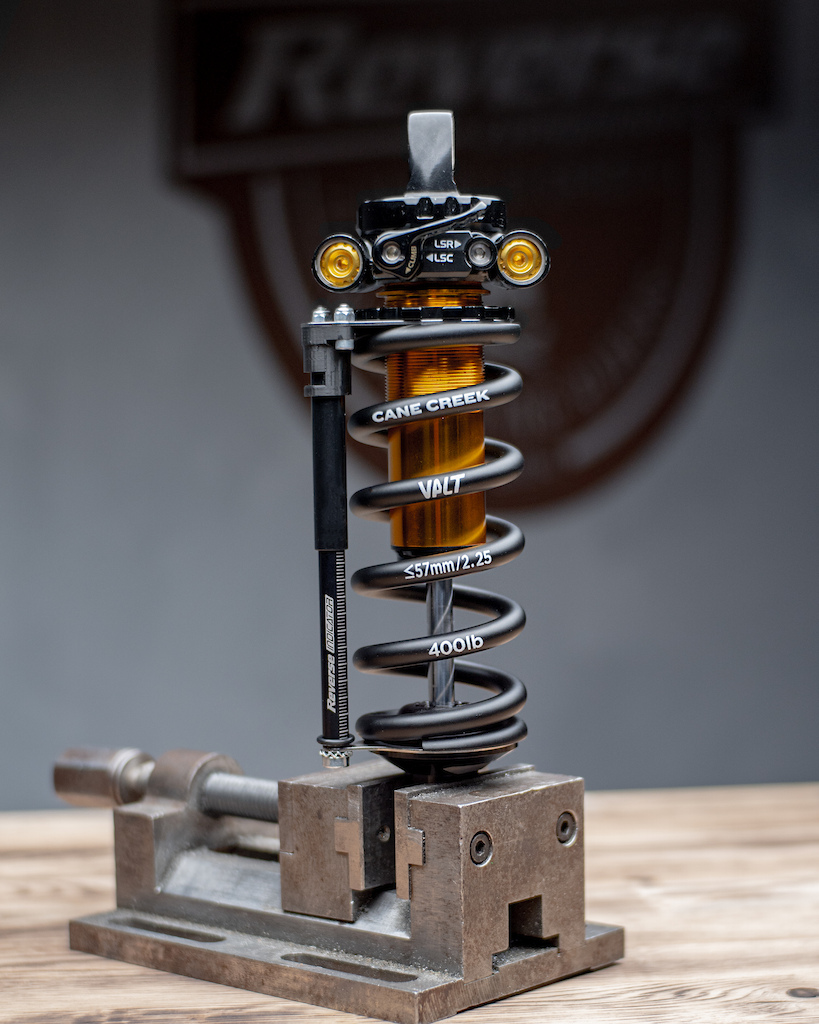
Super plush, ground-hugging and delivering unparalleled traction are some of the characteristics of a well-tuned coil shock. But many riders are never using anywhere near the full potential of their damper due to the difficulties in setting up a coil shock vs air. The Travel and Sag Indicator is a suspension tuning tool to allow you to monitor your travel use while riding and for setting your sag accurately on your coil shock, using an external shaft with an ‘O' ring to indicate the millimetres of shock stroke used while riding.
After the success of our V.1 model, with its piggy back mounted design - we received a lot of requests for an indicator that worked with non-standard/non-piggy-back shocks. The Travel & Sag Indicator 2.0 Universal Mount is now available, with a new fitment design.
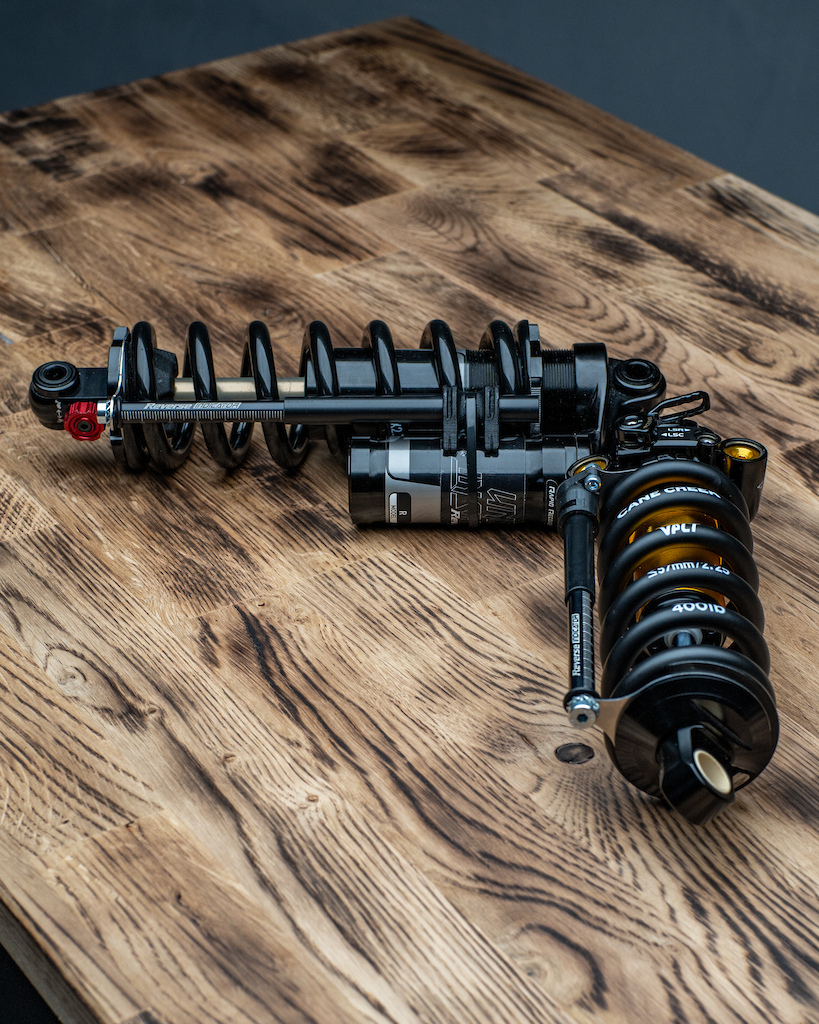
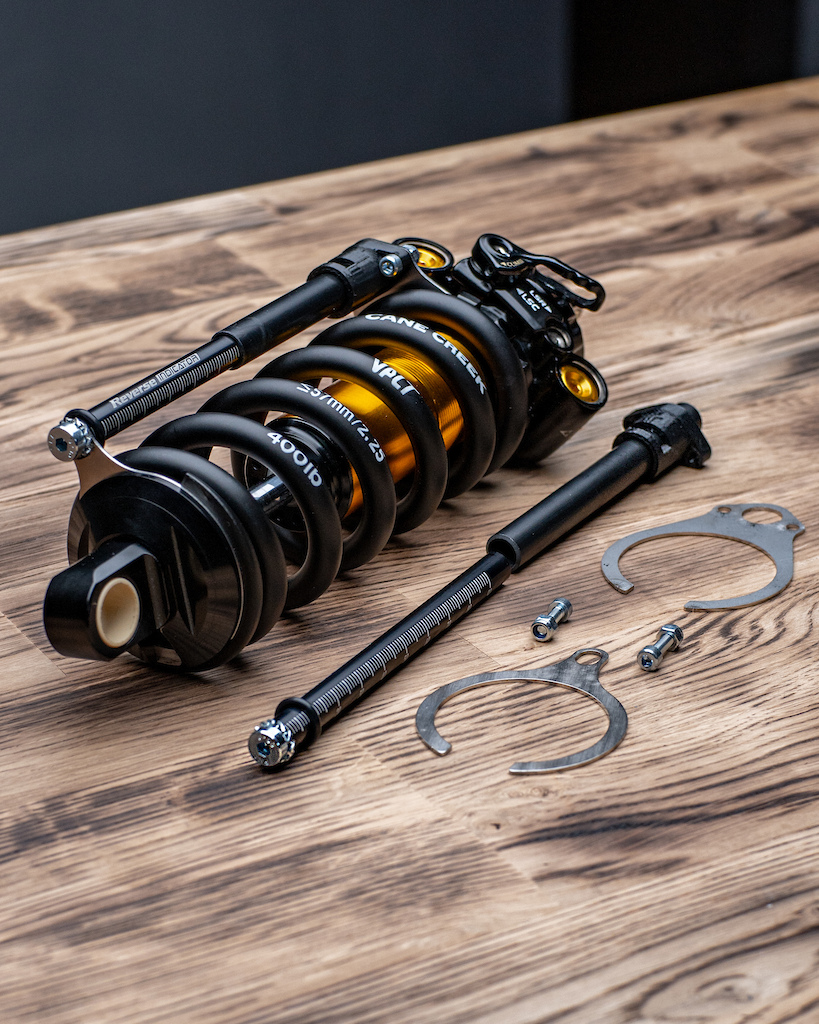
The Indicator attaches at the top and bottom of the coil spring - allowing compatibility with all coil shocks, including Inline and non-standard piggy back shocks such as Cane Creek, Ohlins, Push Industries, DVO and more.
With our handy online calculators you can quickly work out the amount of sag you are using and calculate your desired sag percentage.
With this information you can more accurately determine if you have the correct setup, whether you need to adjust your damping, or should move to a heavier or lighter spring.
The V 2.0 indicator now fits closer to the spring, allowing use on more frame designs with narrow shock tunnels.
The Travel & Sag Indicator 2.0 is now available in EU online stores and will be available in the USA in-store and online from late November '21.
The V.1 version is priced at €26.90 and the V 2.0 is priced at €33.90.
For more information about the Travel and Sag Indicator and to view the rest of our product range, visit our website.
Author Info:

Must Read This Week
Sign Up for the Pinkbike Newsletter - All the Biggest, Most Interesting Stories in your Inbox
PB Newsletter Signup
Sure you can use a zip tie or look at the dust marks on the shaft with a ruler to try and get a reading but this makes it very clear and easy to do with the measurements there, ready to go into the sag % calculator. Probably more importantly - it can be also kept on the bike in the setup stages to check your travel use when riding - if people aren't bottoming out their shock, they often don't know how much they're really using. So far a lot of riders have found this tool + process useful and they've ended up with a better performing coil setup in the end.
Thanks for the feedback !
I also like to use Super Alloy Racing springs for their consistency and light weight, but they have spacers that make seeing and setting sack a little more difficult.
Throw in to the mix how different one 500lb (for example) spring can be to the next (often by as much as 25lbs) and this thing will be a very useful tool.
So if you use one spring and get 28% sag barely while barely ever, if at all using full travel... yet when you use a different spring rate, and get 30% sag and use full travel when you should, that's a good thing.
Thing is... the difference between the use of travel between these springs may be just a couple mm of stroke on the shaft which is something that is very difficult to tell if it's happening or not.
Also, in my experience, + or - 3% points of sag is the difference between 28% and 31% sag, which means change of probably 50lbs of spring rate, which depending on your suspension design can have big impacts on small bump, mid stroke support, use of travel and bottom out.
If I'd have to guess, based on your comment and others in this thread... there are probably quite a few people on the wrong spring rate and not getting everything out of their bike's suspension. A lot of people moving to coil these days because it's the cool thing to do, but not realizing it can be much more difficult to maximize your set-up.
With this I'll know if I really use anywhere near the full travel I've got.
Just set it one time and forget, probably I was like 80% in non ideal configuration
With a coil, depending on how hard the hit was, you might not be sure if you used full travel or not. With an indicator on, it would be immediately obvious if you used all or had 10mm left.
This works even if your drunk and can't stand upright.
Take an elastic band. Tie a knot on one end. Wrap the elastic around the exposed part of your shock shaft using a thin screw driver (I used a wooden kabob skewer). Pull tight. The knot will help keep it from loosening. Then use a plastic tire lever, or your handy kabob skewer, to seat it at the top of shaft for sag and travel measurements. Works great. Almost free.
It really is a simple solution. But if you want to go ahead and drop some coin on this product, fill yer boots.
Waited 6 weeks for it to show up. The “telescoping” plastic rod buckled and never stayed straight. The thin metal flange bent and never seated correctly. ……oh, and try to mount this to set your sag on a DH bike where the minimal clearance with the rear shock mount in a 4 bar linkage makes this tool useless. Went right back to my trusted and true OG plastic zip tie method that worked 1000% better.
Really good idea guys, but in the end it just never worked how it was supposed to. Worst $30.00 I spent.
You asked……
But people know you can just measure the eye-to-eye at sag and figure out your sag percentage, right? Yeah, that's pretty much impossible without another person and a ruler, but it's a lot easier than using a ruler and measuring how much your bumper has moved (through the coil).
@yoannbarelli did a full video about it.
www.youtube.com/watch?v=7YHDpunS4yQ
However, this thing is not convenient to use, it starts squeaking when both ends misalign and/or gets a little dirt inside.
O-ring or zip tie, even a dry erase line on shaft measure what's taken up..
Good idea and there will be a crowd who buy these...that's just my personal opinion from a practical standpoint from a gadget standpoint it's pretty cool and I hope you sell a crap ton love to see business succeed and long term...
Back to zip ties.
But .. you still have the same spring on your bike!
Option B.
Take spring off, mark 25,30,35% sag on the shaft with a fine marker. Put spring on, move bottom out bump to top, sit on bike, check marks!
At least its priced pretty reasonable What about using a dry erasable marker on the shaft/stanction.(shiny thing) idk
give it a try or die trying to feel what springrate you need